Introduction
Build a Light Touch enclosure from a cotton bud packaging, tracing paper and a few other household items.
To begin this step you’ll need to have your Light Touch breadboard assembly already made (one or two of them depending on whether you are intending to pair them yourself, or pair remotely). You’ll also need to have ready the necessary tools and parts which can be sourced from a range of independent online retailers - click the parts links for more details including tailored options for certain countries.
-
-
Gather the parts and tools shown in the picture.
-
If you do not have a cotton bud container you could also use a small Pringles can or any other paper-based tube package with a transparent lid.
-
The self-adhesive paper tape shown in this guide is purely decorative. You could use wrapping paper, tape or paint to decorate the tube instead.
-
-
-
Apply two layers of tape to cover the whole container.
-
In this guide, we cover the container with adhesive paper tape to disguise the origins of the packaging, but you can use your own materials or choose not to cover the packaging at all.
-
-
-
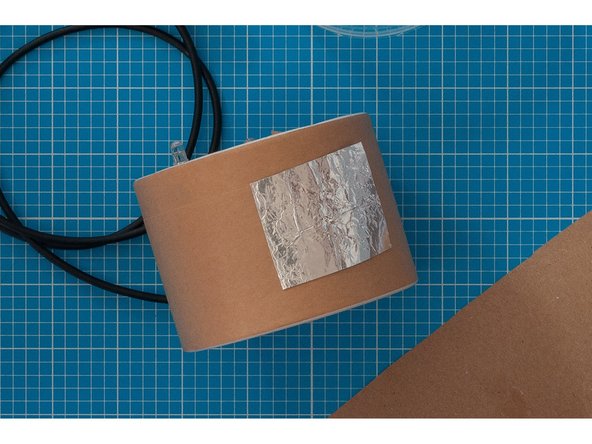
The capacitive touch button is how you operate the Light Touch device. In this example, we will make the button out of aluminum foil, but other metallic elements (e.g. washers, coins) also work.
-
To wire the button we need to make a hole in the packaging for a lead to pass through.
-
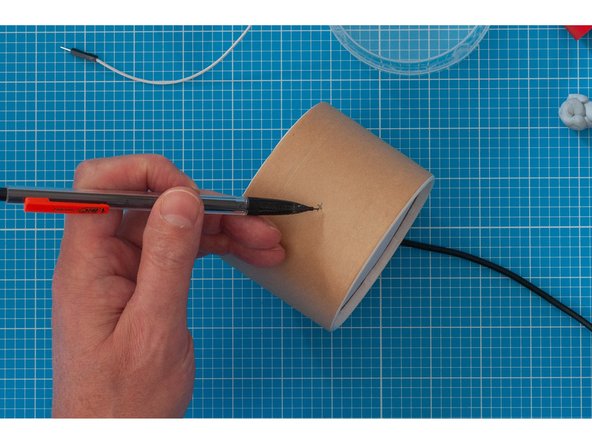
Choose a place roughly in the centre of where you would like the button to be and make a pencil mark.
-
Very carefully create a hole using a pointed tool such as a bradawl, sharp pencil or the point of a compass.
-
-
-
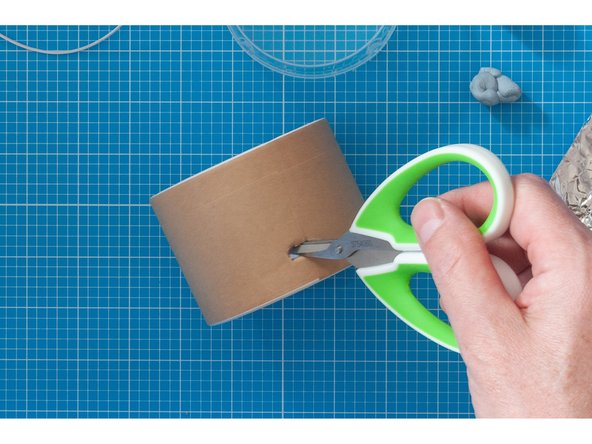
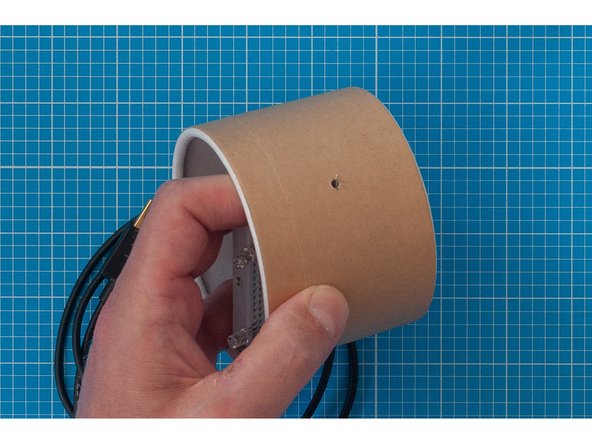
We will need to make a larger hole for the micro USB lead to pass through.
-
Mark a point towards the bottom of the container. In this example the hole is being created on the opposite side from the hole made for the button.
-
Create two small holes with your pointy tool.
-
Open the hole using scissors until it is large enough to pass smaller end of the micro USB lead through.
-
-
-
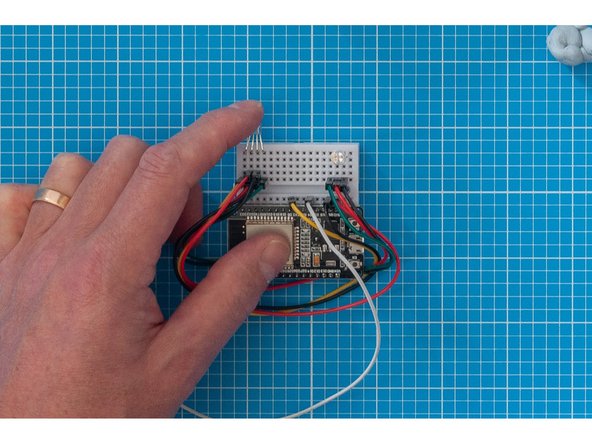
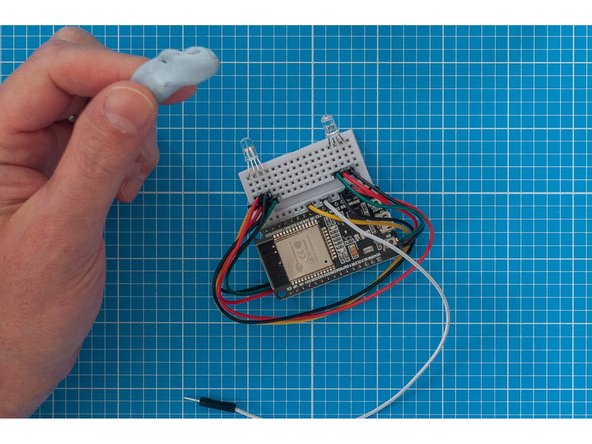
The breadboard will be mounted upright inside the container, so we need to bend the LED's as shown in the image so that they will face the lid.
-
-
-
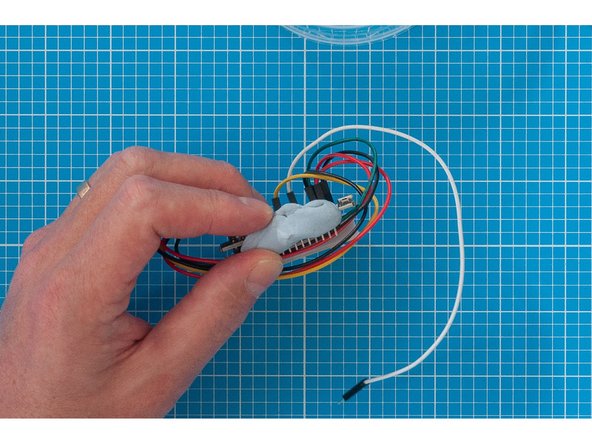
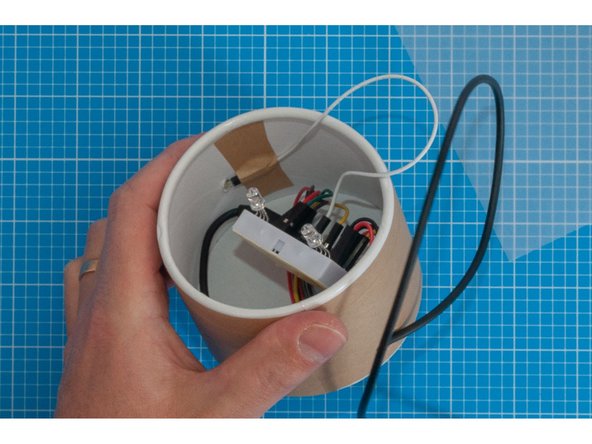
Take a generous piece of Blu Tack and stick it to the bottom of the assembly, on the opposite end to the LED's.
-
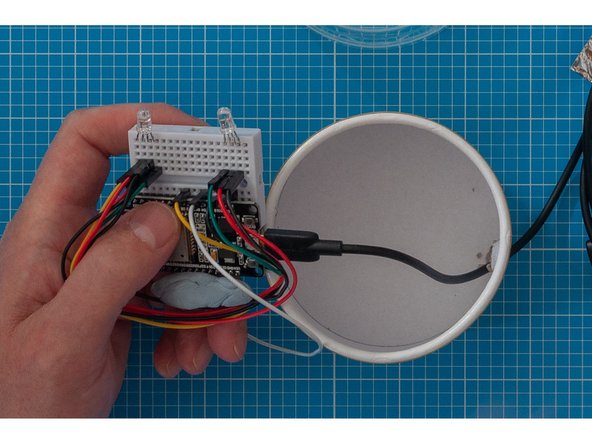
Attach the micro USB lead to the ESP32 board and carefully lower the assembly into the container, using the Blu Tack to support it.
-
-
-
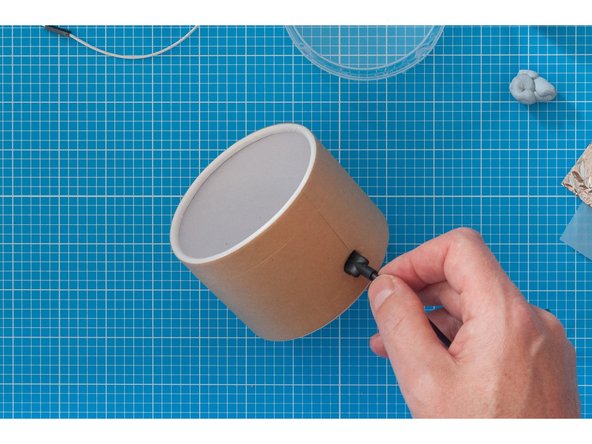
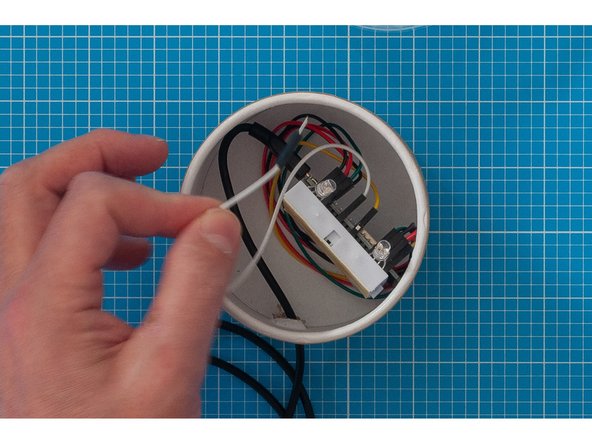
Take the white capacitive touch lead and place it through the hole made earlier.
-
Try to arrange the lead so that the pointy connector is resting against the outside of the container - in the next step we are going to place aluminium foil over the lead and it will puncture the foil if it is sticking out.
-
Use tape to secure the lead on the inside.
-
-
-
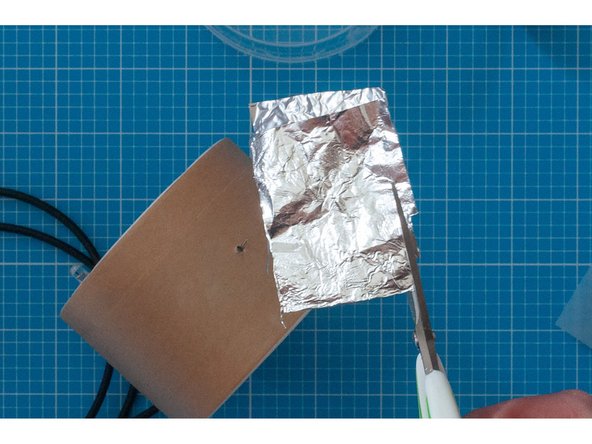
Take a piece of foil and cut out a square (or any other shape you like).
-
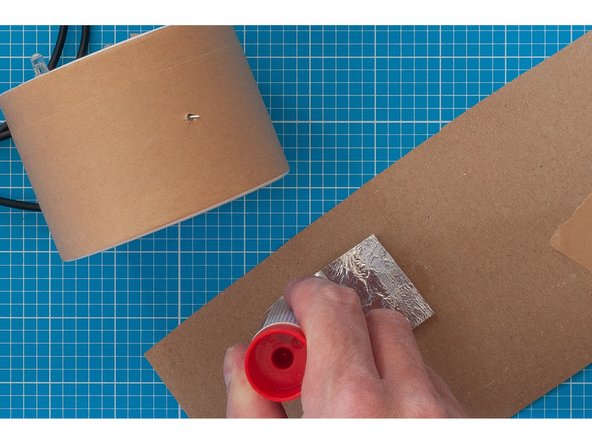
Use the glue stick around the outside of your shape, but not over the area that is going to touch the capacitive touch lead.
-
Stick the foil to the container, being sure not to get any glue between the foil and the capacitive touch lead.
-
-
-
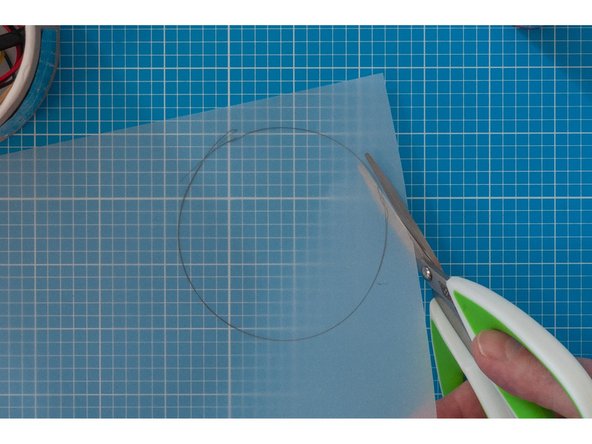
In this example we will create a diffuser for the LED lights from tracing paper.
-
Trace a circle on the tracing paper around the top of the lid and cut out using scissors.
-
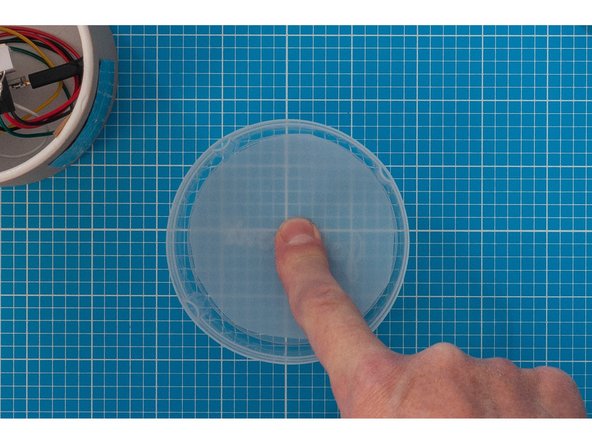
Add a spot of glue the centre and place on the inside of the lid.
-
-
-
Carefully place the lid on the container and switch on.
-
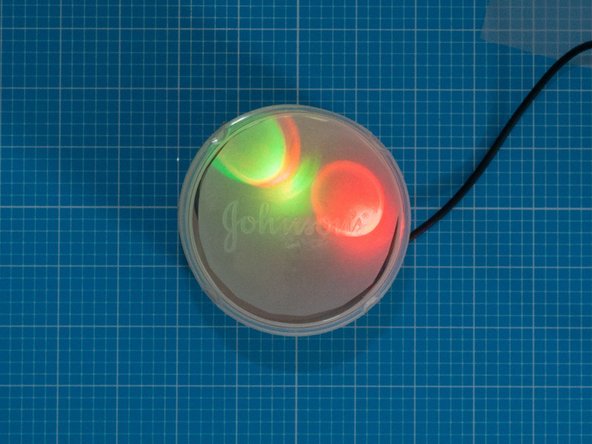
You may wish to adjust the position of the LED's shining on the diffuser, which can be done by carefully bending them in the board (making sure not to twist them so that the pins touch).
-
-
-
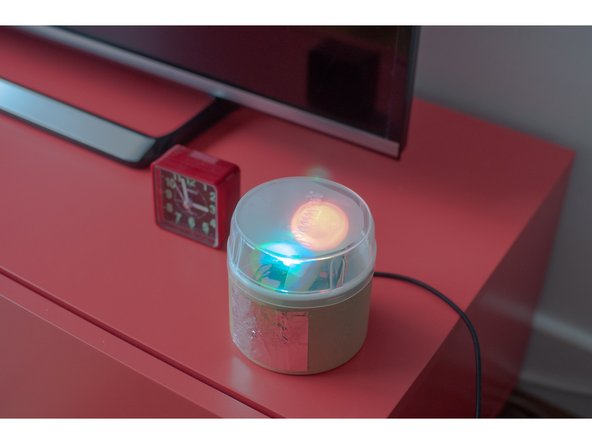
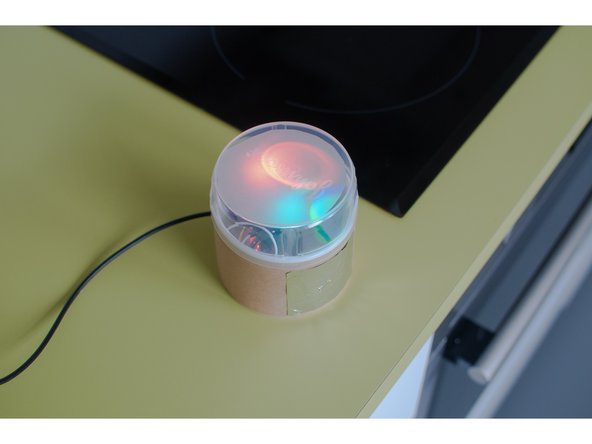
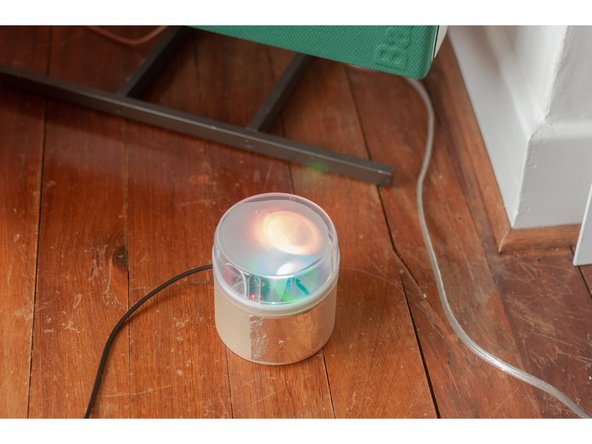
The build is finished and ready to use.
-
Choose locations for your device that are not too brightly lit. The LEDs are bright, but may seem washed out if near a sunny window.
-
Light Touch devices work best when plugged into dedicated adaptors like phone chargers. They do not run run well when plugged into laptops or computers as these will struggle to power the LEDs.
-
Enjoy!
-