Introduction
Build Flutter By - Feather enclosure from a cotton bud packet and a pickle jar. Decorate with your own wrapping or print our PDF to use the one featured in this guide. The feather is made from coloured paper; a template is included in the PDF for you to print directly or trace.
Please Note: This enclosure design uses the Mini Computer fan rather than the 60cm computer fan.
To begin this step you’ll need to have your Flutter By breadboard assembly already made (one or two of them depending on whether you are intending to pair them yourself, or pair remotely). You’ll also need to have ready the necessary tools and parts which can be sourced from a range of independent online retailers - click the parts links for more details including tailored options for certain countries.
Tools
-
-
Gather the items from the parts and tools lists
-
-
-
Download and print the Flutter By Feather Templates PDF.
-
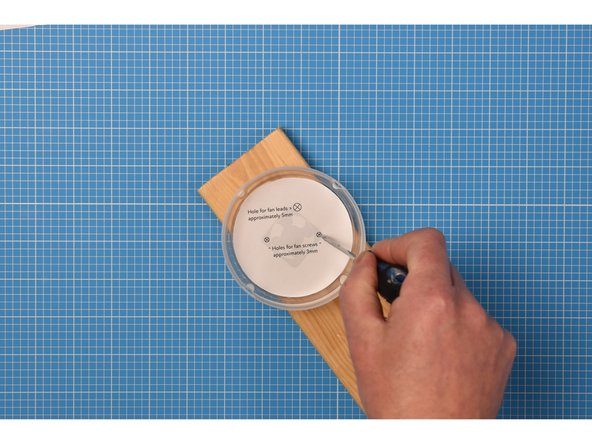
Cut out the hole guide for the lid of the cotton bud packet.
-
Place the guide inside the lid of the packaging.
-
-
-
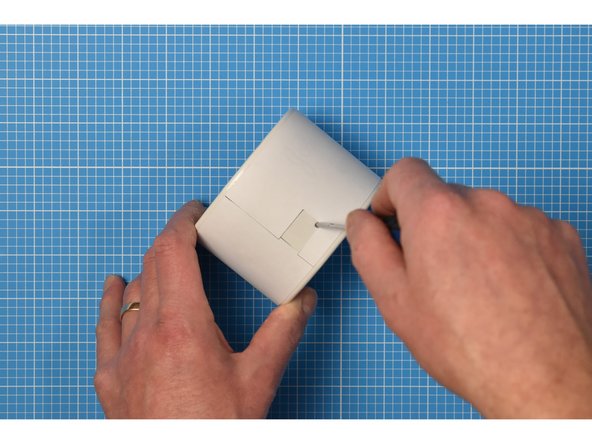
This step is about creating holes for the fan's leads and two mounting screws.
-
Use a scrap piece of wood or chopping board to protect your work surface during this step.
-
Using a bradawl or other sharp point, carefully make holes at the points indicated in the hole guide.
-
Using a sharp pencil, gently enlarge each of the holes to approximately 3 mm for the two screw holes, and 5 mm for the hole for the fan leads.
-
You may wish to use drills to make the holes if you have them.
-
-
-
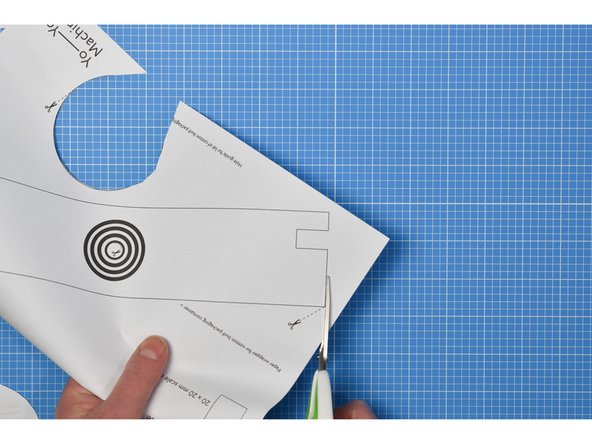
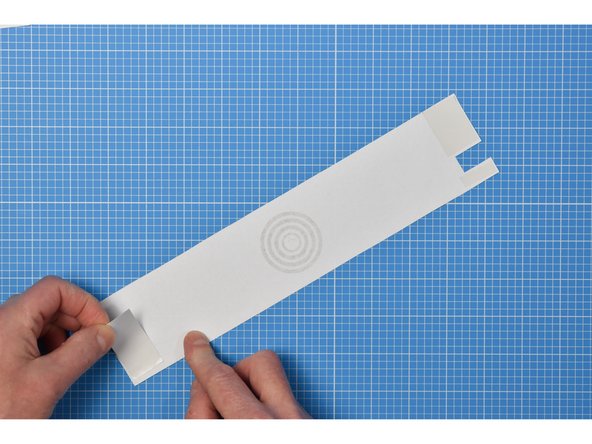
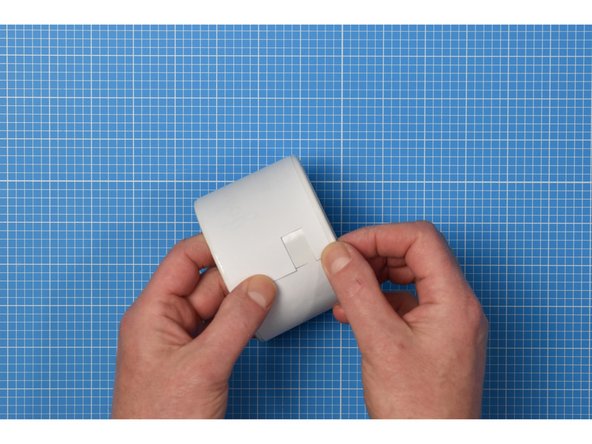
Cut the wrapper from the PDF template.
-
Add double-sided tape to each end of the wrapper.
-
Starting with the straight end, carefully wrap the around the container, ensuring the notch is closer to the bottom of the container than the top. This notch will later become the hole for the USB cable to pass through.
-
-
-
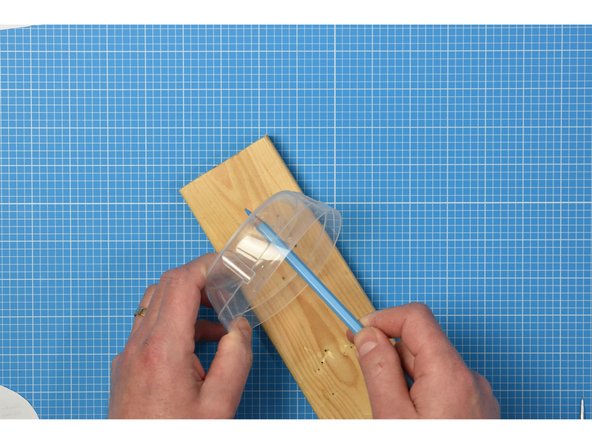
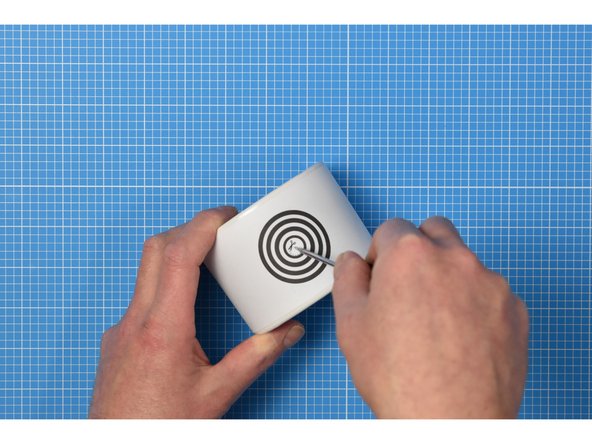
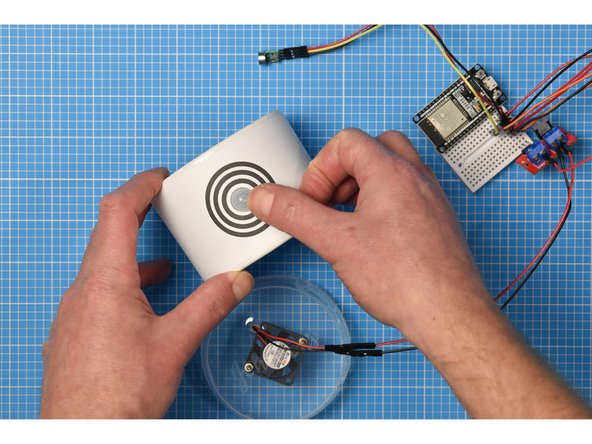
Using a bradawl or other sharp point, carefully make a hole in the center of the concentric circles on the wrapper.
-
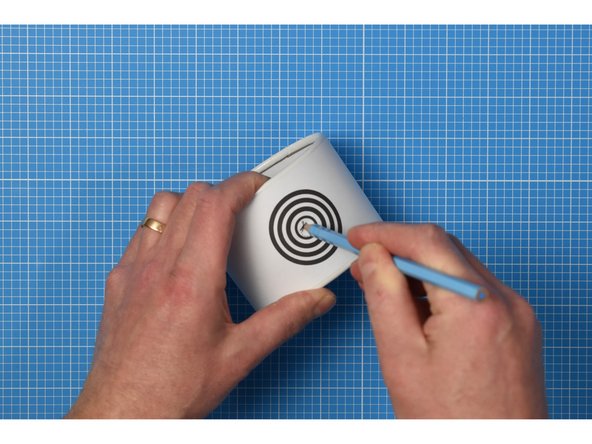
Gently enlarge the hole using a pencil.
-
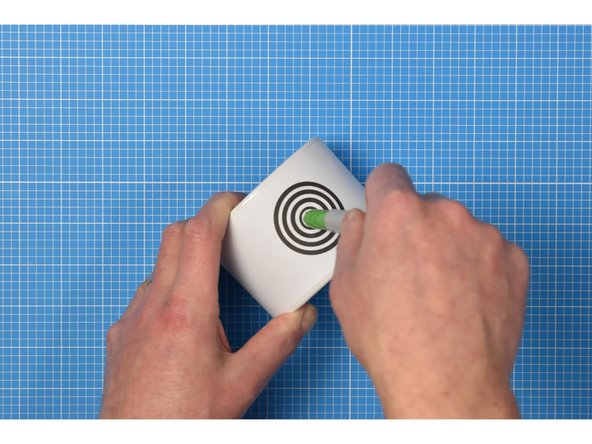
Gently enlarge the hole again using a marker pen such as a Sharpie.
-
Take care to make the hole no wider than the PIR sensor itself by only removing the white centre of the concentric circles.
-
You can also use a craft knife to create the hole if you have access to one.
-
-
-
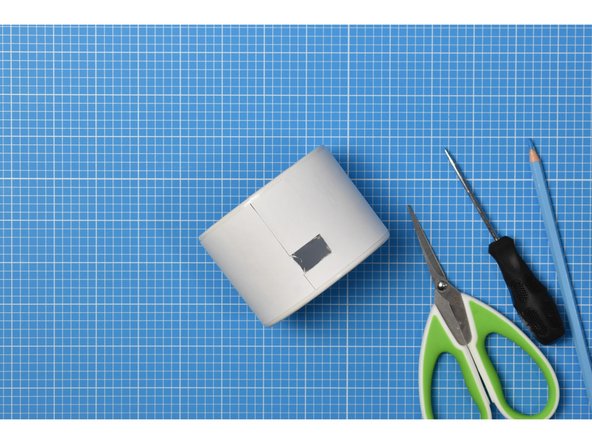
In this step, you'll make the hole for the USB cable.
-
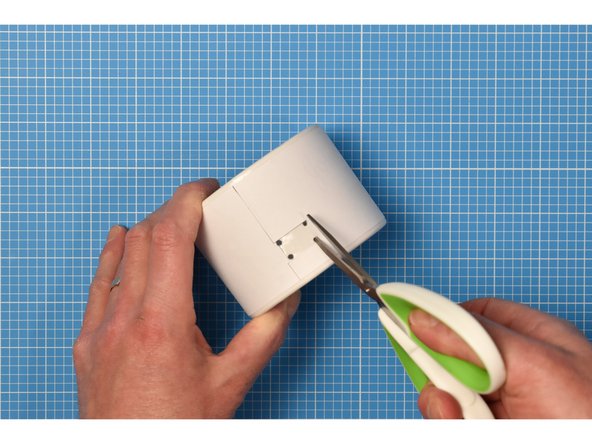
Using a bradawl or other sharp point, carefully make four holes in the four corners of the wrapper's notch.
-
Use small scissors to careful cut the rectangle from the container side.
-
You can also use a craft knife to create the hole if you have access to one.
-
-
-
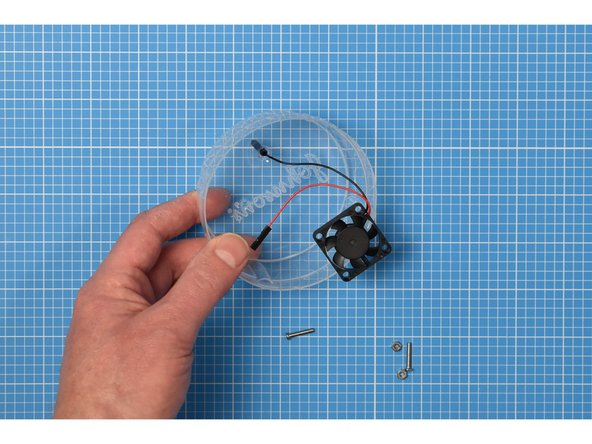
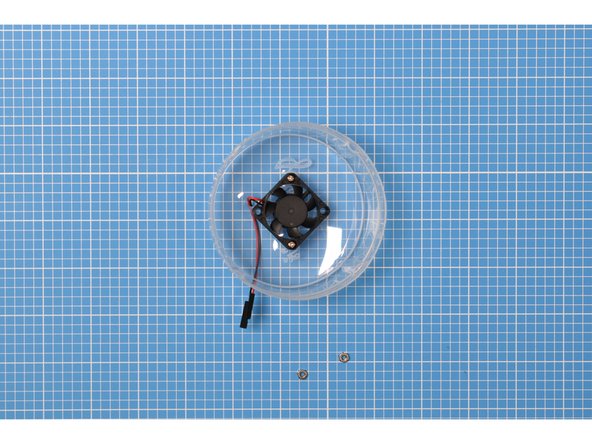
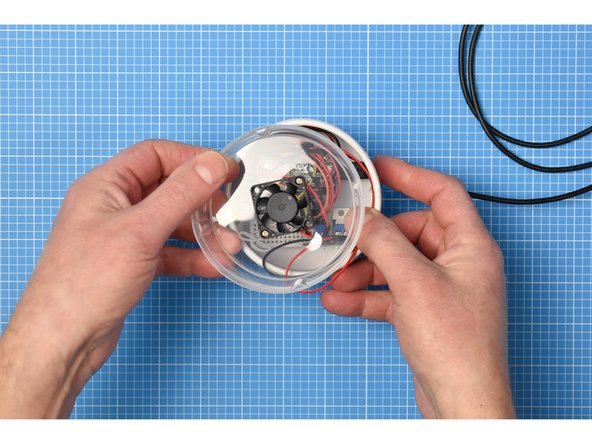
Unplug the fan from the breadboard assembly. The fan will sit inside the lid of the cotton bud packaging, which will be used upside down in the enclosure.
-
Pass the leads, one by one, through the larger hole that you made in the earlier step.
-
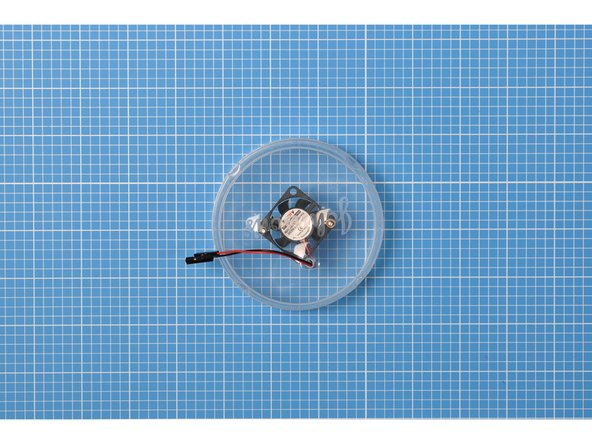
Place the fan, label side down, inside the lid, then pass the machine screws supplied with the fan through the other holes in the lid.
-
Attach the nuts onto the machine screws from the other side on the lid and rotate until finger tight.
-
Reattach the leads to the breadboard assembly.
-
-
-
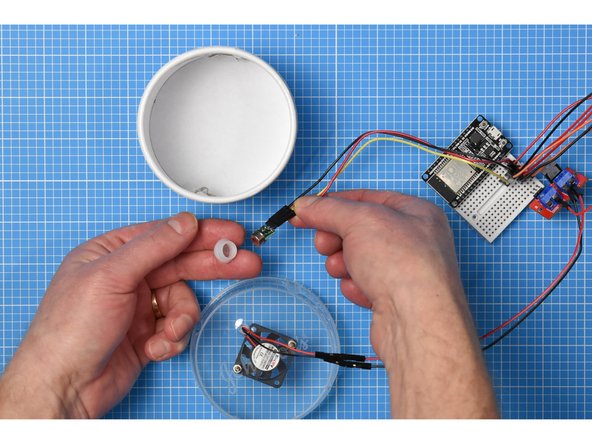
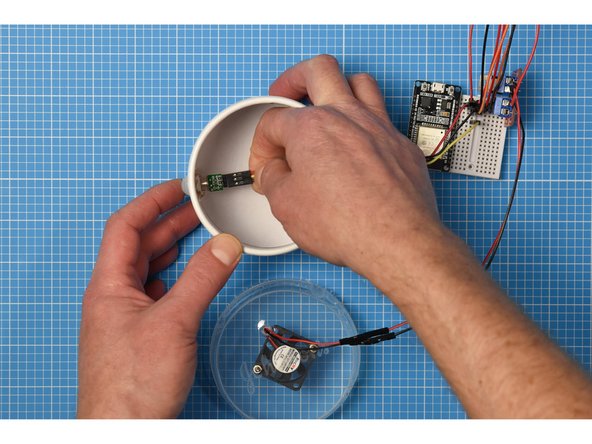
Remove the white plastic cap from the PIR sensor.
-
Fit the cap through the container hole from the front.
-
From inside the container, fit the PIR sensor back into the plastic cap to hold the PIR in place on the enclosure.
-
-
-
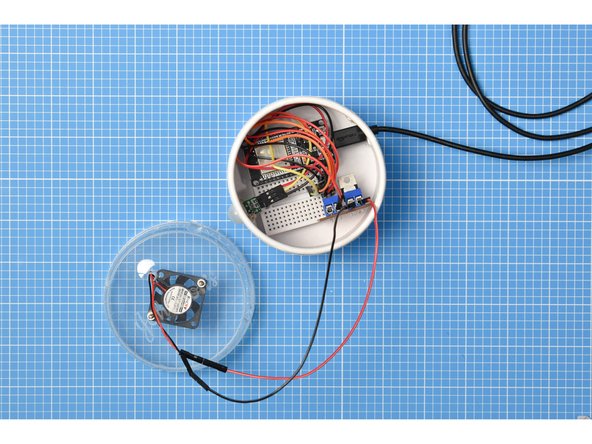
Place the breadboard assembly inside the container and attach the USB lead.
-
Fold down any jumper cables that may be sticking up.
-
Place the lid upside down on top on the container. It should fit snugly, but you can secure it with tape if you wish.
-
-
-
The feathers are best made from paper 80gsm or less. Thicker paper will put strain on the fan and slow it down.
-
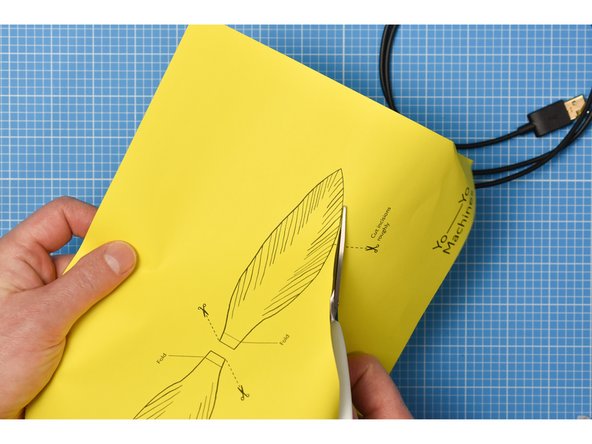
The Flutter By Feather Templates PDF features outlines for the feathers. Print these directly onto colour paper or trace them if you are using more specialist paper that would be difficult to print on.
-
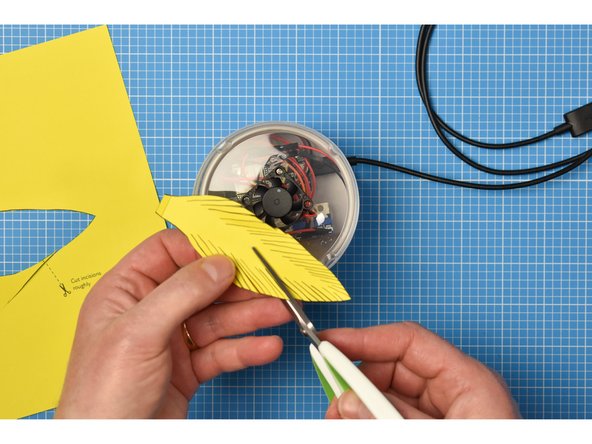
Cut around the feather shapes and roughly cut along each of the printed barbs.
-
Fold the tabs at the end of each feather.
-
-
-
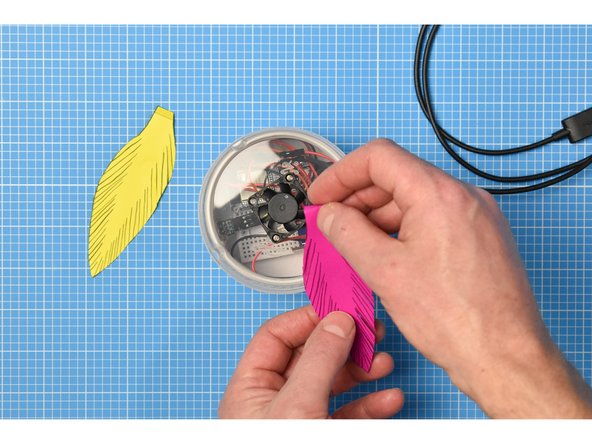
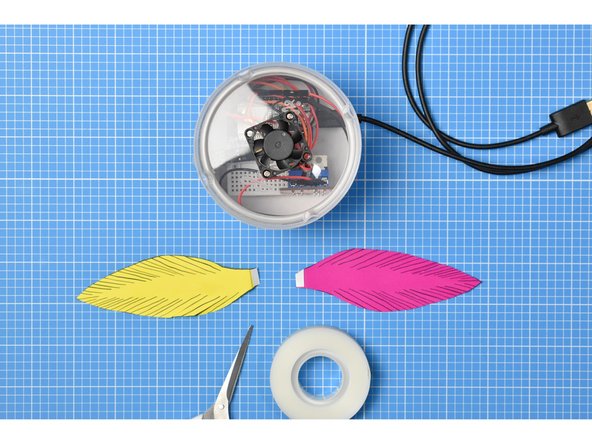
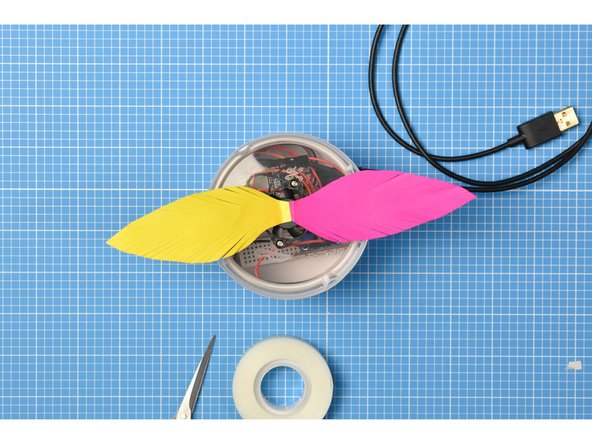
Place small pieces of double-sided tape on the tab of each feather.
-
One by one, stick each feather to the central hub of the fan, making sure that the fan is still able to turn.
-
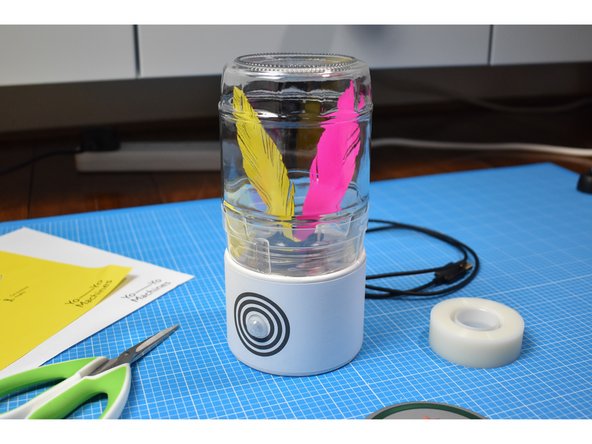
Place the pickle jar upside down onto the assembly. You will need to hold up the feathers and tuck them inside the jar. The jar itself will sit neatly inside the upturned cotton bud lid, but you may wish to secure it with extra tape.
-
-
-
Once paired with a second device, any movement detected by the PIR sensor on one device will trigger the fan in its partner to turn.
-
If the motion seems slow or laboured, you may need to adjust the centering of the feathers on the fan, or you may need to trim them to better fit inside the jar.
-
If you want to adjust the timing of the fan motion (by default it will remain on for 10 seconds after the PIR detects motion), please refer to the optional step in stage one of the hardware building guides.
-
-
-
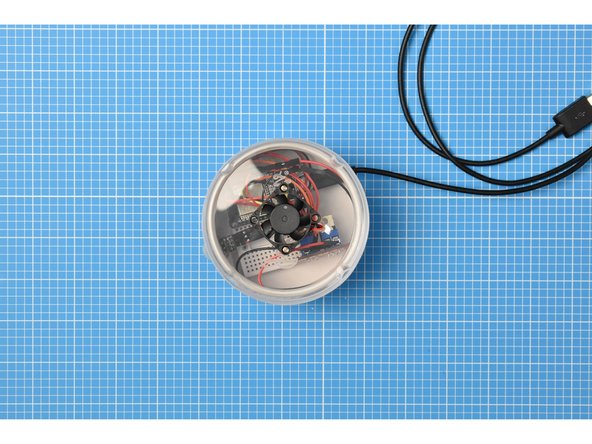
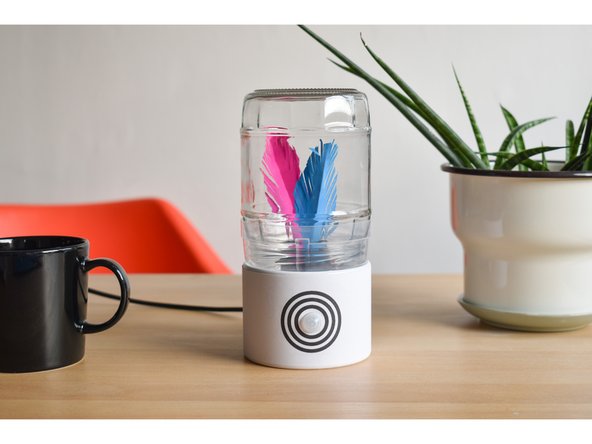
The enclosure is ready to use.
-
Remember you can adapt these instructions to suit your needs.
-
You can also adapt the decoration however you wish.
-
We would love to see your interpretations! Email us at interaction@gold.ac.uk or tag your social posts with #yoyomachines
-
Enjoy!
-