Introduction
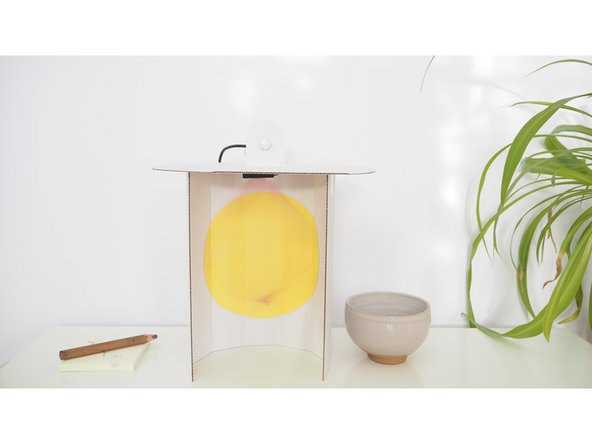
Inspired by Natalie Jeremijenko’s Live Wire, Flutter By Ribbon spins a ribbon when movement is seen by the paired device.
Build the Flutter By Ribbon enclosure from cardboard and a colourful ribbon. Decorate with your own colour paper details. The ribbon can be made from fabric or paper with the addition of a weight which can be made from playdough, a safety pin, a bulldog clip or blu tack.
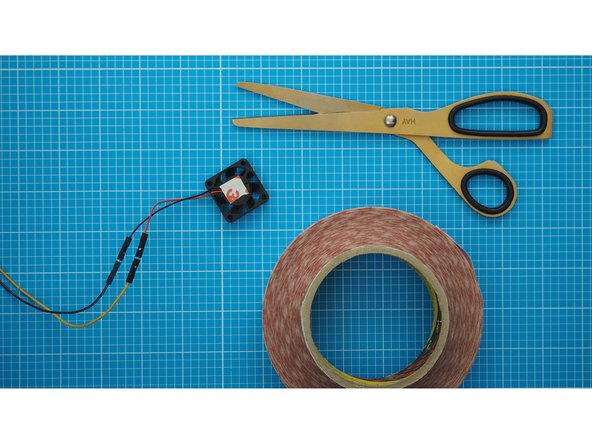
Please Note: This enclosure design uses the Mini Computer fan rather than the 60cm computer fan.
To begin this step you’ll need to have your Flutter By breadboard assembly already made (one or two of them depending on whether you are intending to pair them yourself, or pair remotely). You’ll also need to have ready the necessary tools and parts which can be sourced from a range of independent online retailers - click the parts links for more details including tailored options for certain countries.
-
-
Gather the items from the parts and tools lists
-
-
-
Cut out a piece of sturdy cardboard that is 210mm high and 280mm wide.
-
Along the long edge mark 6 fold lines 40mm apart.
-
Fold the cardboard along the fold lines to create a 7 surfaced curve by lightly scoring the edges with scissors and ruler.
-
-
-
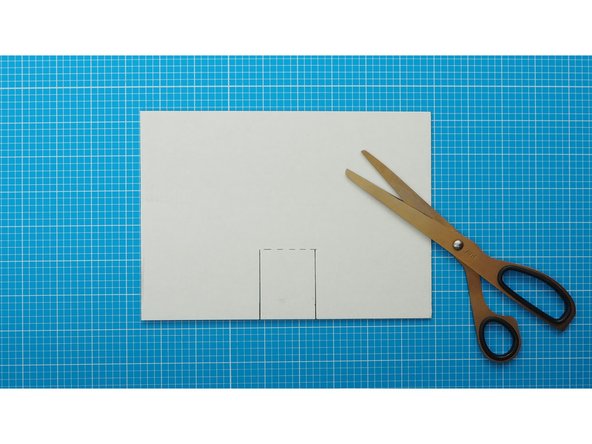
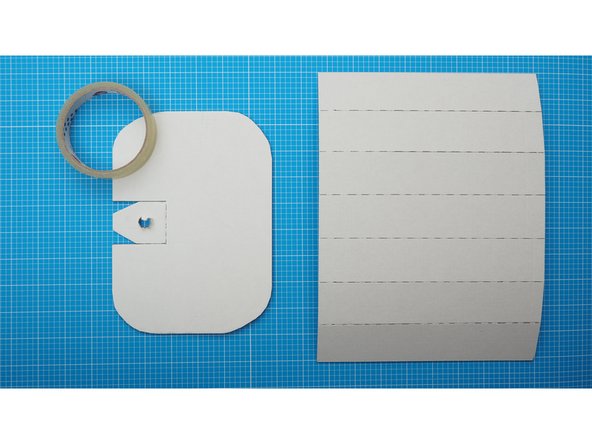
Cut out another piece of sturdy cardboard that is 150mm high and 210mm wide.
-
At the centre of the long edge mark a flap that is 40mm wide and 50mm deep with a fold line on the inner edge.
-
Cut out the two long edges and fold the inner edge by lightly scoring the edges with scissors and ruler along the fold lines.
-
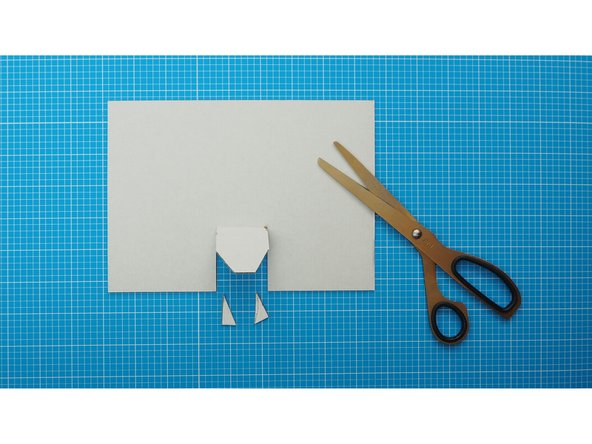
Cut of the corners of the flap and fold it upwards by folding away from the surface on the unmarked side.
-
-
-
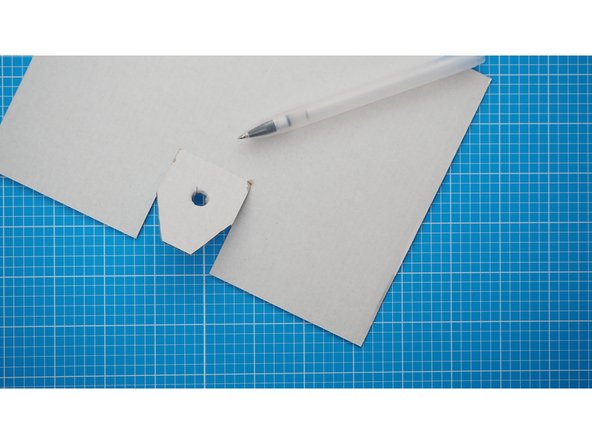
With a pen or pencil make a mark in the centre of the flap.
-
Using a bradawl or other sharp point, carefully make a hole where marked.
-
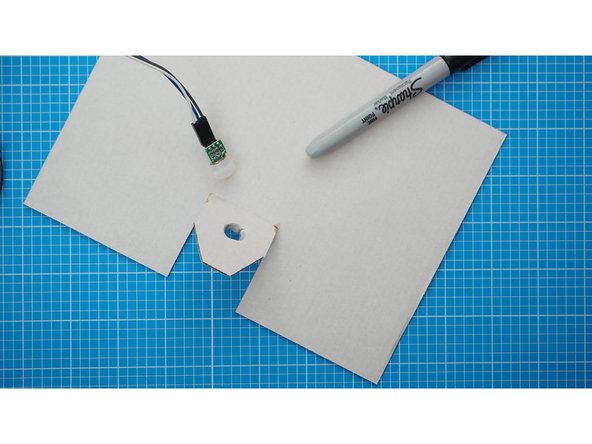
Gently enlarge the hole again using a marker pen such as a Sharpie until it matches the diameter of the PIR sensor.
-
-
-
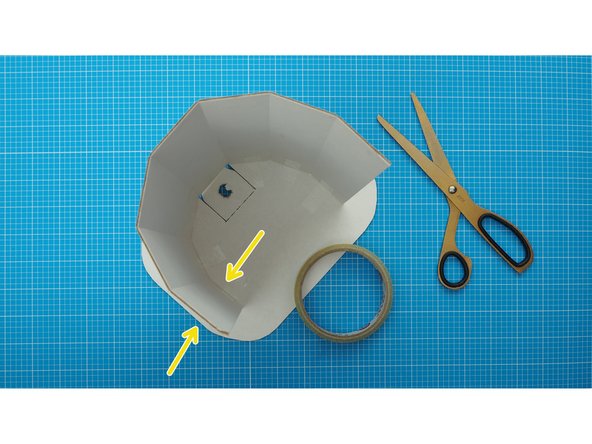
Position the curved base and the top as shown, making the sure the marked side of the curve is on the outside, and the marked section of the flap on the top piece is facing towards the curve
-
Using sellotape, stick 6 of the faceted edges to the top, leaving the middle facet unattached.
-
For a secure join make sure each facet is sellotaped from the inside and the outside.
-
-
-
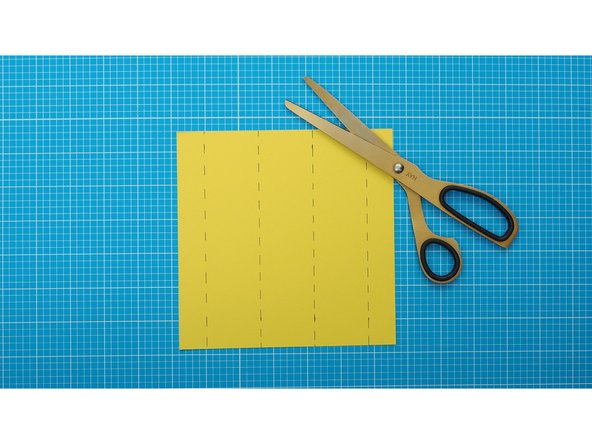
Cut out a piece of coloured paper that is 160mm high and 160mm wide.
-
Mark 4 fold lines 40mm apart, starting and finishing 20mm from the edge.
-
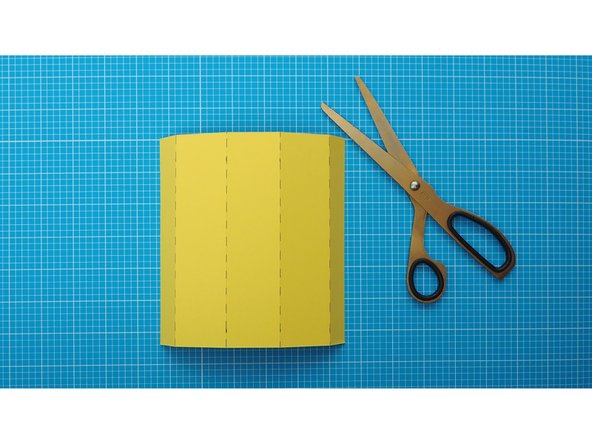
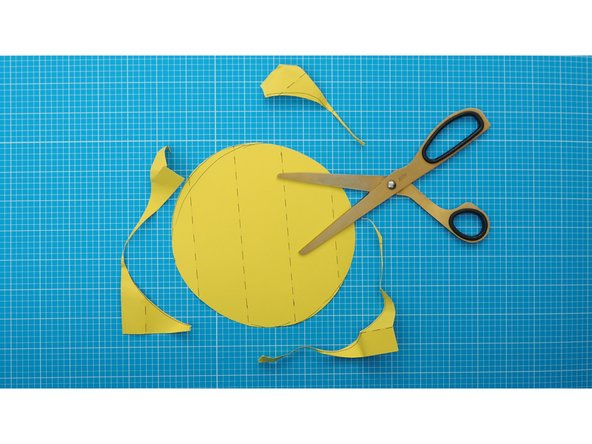
Fold the paper along the fold lines to create a 5 surfaced square by lightly scoring the edges with scissors and ruler.
-
Mark and cut the square into a circle
-
-
-
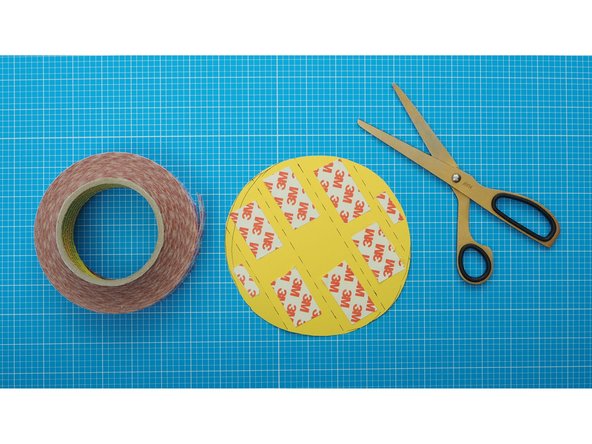
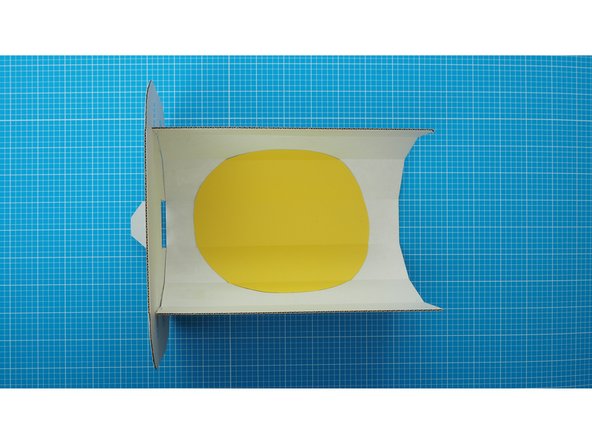
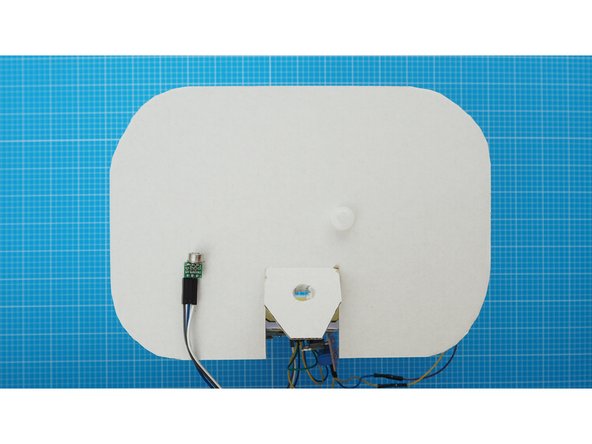
Using double sided tape stick (or glue) stick the coloured circle in the middle of the faceted curve of the enclosure.
-
-
-
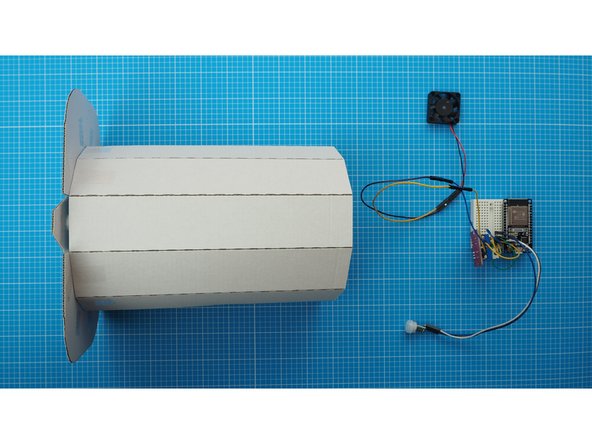
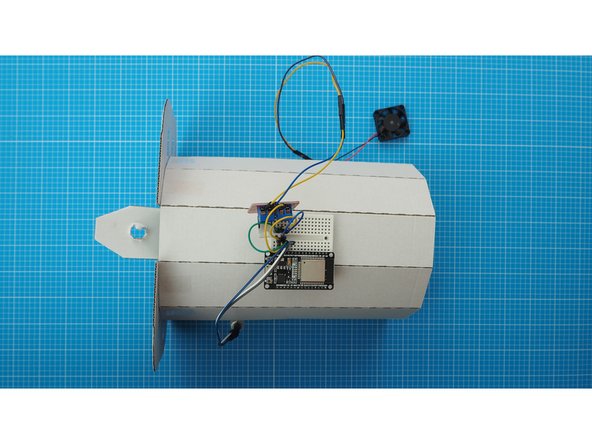
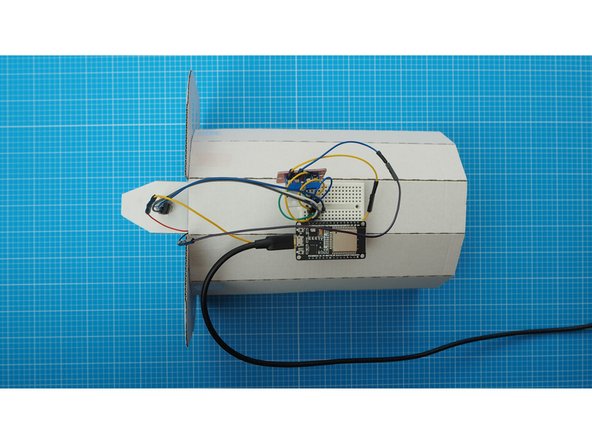
Mount the breadboard to the back of the faceted curve. The breadboard has a double sided tape backing which can be used to attach it.
-
-
-
Remove the white plastic cap from the PIR sensor.
-
Fit the cap through the hole you made in the flap from the front.
-
From back side of the flap, fit the PIR sensor back into the plastic cap to hold the PIR in place.
-
-
-
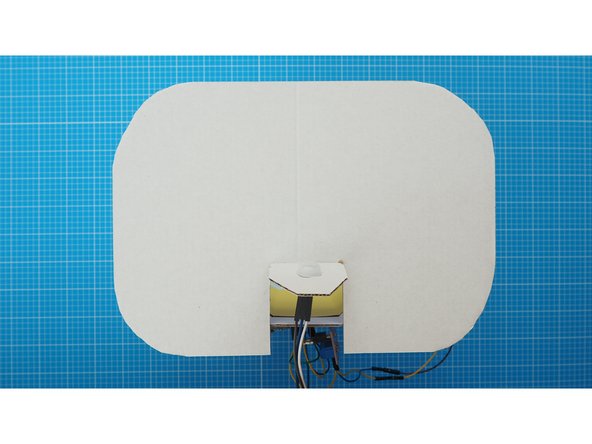
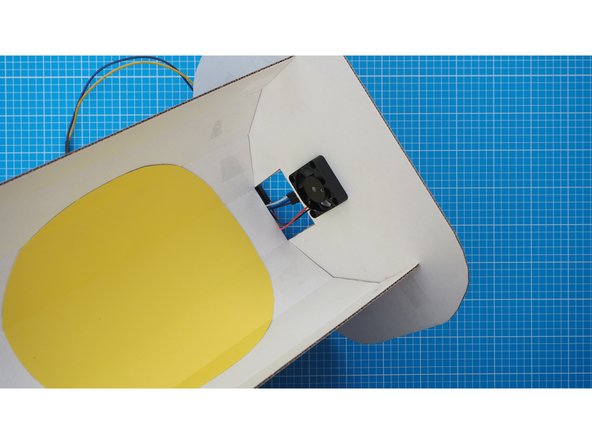
Attach the fan to the underside of the top cardboard, using double sided tape. The double-side tape should go on the side of the fan that does not rotate, which normally has a label.
-
Feed the cable in from the back guiding it in underneath the flap.
-
Make sure that the fan can still rotate when stuck to the cardboard.
-
-
-
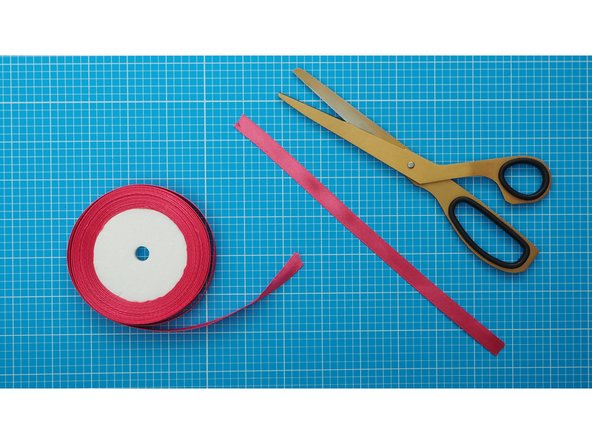
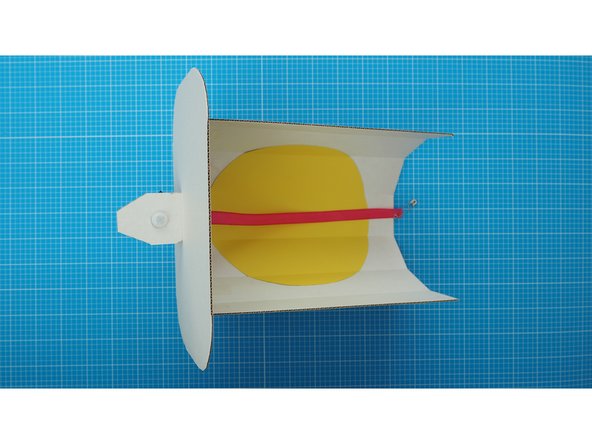
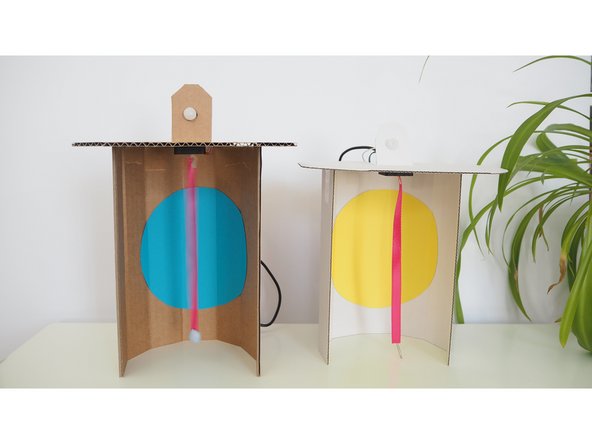
Cut a length of ribbon slightly shorter than the height of faceted curve.
-
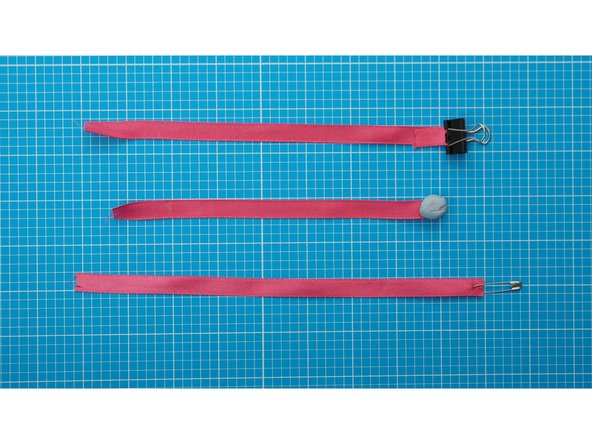
Create an end weight, using a safety pin, blue-tac, playdough or a small bulldog clip.
-
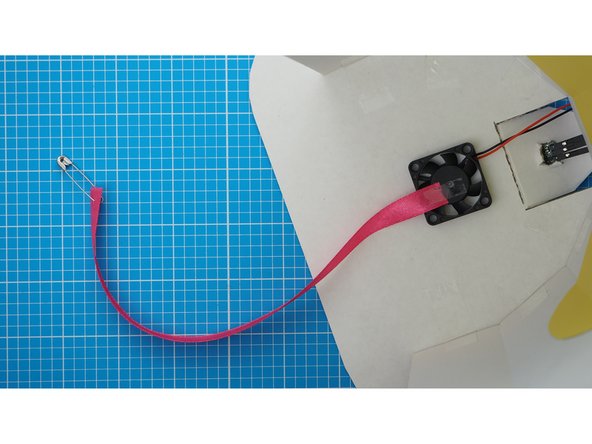
Secure the unweighted end to the centre of the fan using sellotape.
-
Experimenting with different ribbon lengths and weights will change the patten of the spinning movement.
-
You can find numerous recipes for homemade playdough online -- it's easy to make from a little flour, salt, oil and water.
-
-
-
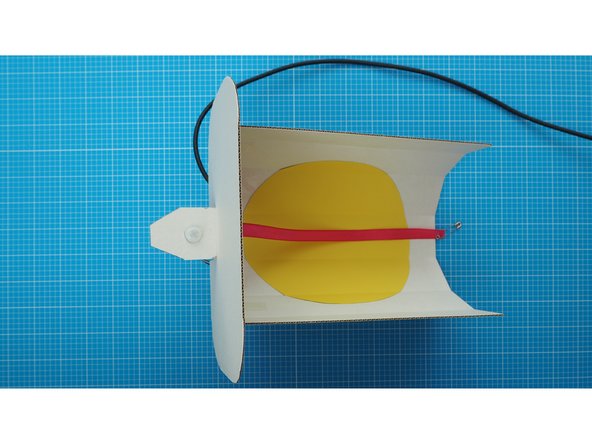
Use the USB cable to power the ESP32s board.
-
-
-
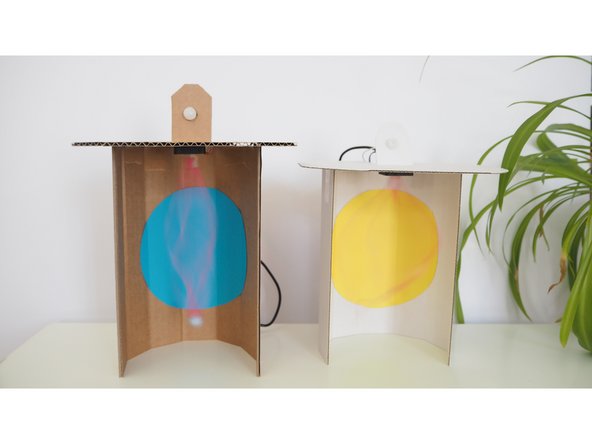
Once paired with a second device, any movement detected by the PIR sensor on one device will trigger the fan in its partner to turn.
-
If you want to adjust the timing of the fan motion (by default it will remain on for 10 seconds after the PIR detects motion), please refer to the optional step in stage one of the hardware building guides.
-
-
-
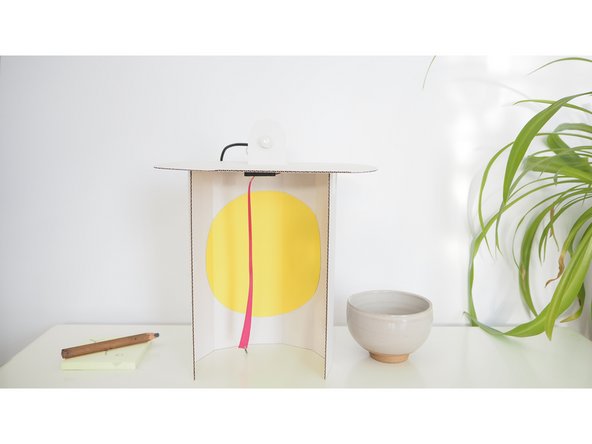
The enclosure is ready to use.
-
Remember you can adapt these instructions to suit your needs.
-
You can also adapt the decoration however you wish.
-
Flutter By devices work best when plugged into dedicated adaptors like phone chargers. They do not run well when plugged into laptops or computers as these will struggle to power the LEDs.
-
We would love to see your interpretations! Email us at interaction@gold.ac.uk or tag your social posts with #yoyomachines
-
Enjoy!
-