
Introduction
Build a Light Touch enclosure from a plastic bottle, chopsticks, a cereal bag and a few other household items.
To begin this step you’ll need to have your Light Touch breadboard assembly already made (one or two of them depending on whether you are intending to pair them yourself, or pair remotely). You’ll also need to have ready the necessary tools and parts which can be sourced from a range of independent online retailers - click the parts links for more details including tailored options for certain countries.
-
-
Gather the parts and tools shown in the picture.
-
-
-
The capacitive touch button is how you operate the Light Touch device. In this example, we will make the button out of aluminum foil, but other metallic elements (e.g. washers, coins) also work.
-
Crumple a sheet of tinfoil around the exposed metal on the end of the capacitive touch lead.
-
-
-
Mount the breadboard assembly on a small piece of cardboard that will fit inside the plastic bottle. The breadboard has a double sided tape backing which can be used to attach it.
-
-
-
Cut the plastic bottle in half with scissors and keep the bottom section.
-
Secure the breadboard assembly inside the bottle by attaching the cardboard to the edge of the bottle with a bulldog clip.
-
For a more secure and permanent bond you could use secure the breadboard assembly to the bottle with superglue, sugru or a hot glue gun.
-
In the configuration here the LEDs will be vertically oriented. You can change their orientation by twisting the breadboard assembly before mounting or by gently bending the LED wires.
-
-
-
Secure the chopsticks to the outside of the bottle using rubber bands or sellotape. Align the chopsticks so none of them are directly in front of the LEDs.
-
Make sure the chopsticks legs are all the same length from the ground . You can do this by marking the chopsticks with a pen, or aligning them to the horizontal marks on the bottle.
-
-
-
For added diffusion you can add piece of tracing paper inside the bottle covering the area in front of the LEDs. You can use secure it in place using the bulldog clip.
-
We'll be adding another outer diffuser layer in the next step so whether or not you add the inner diffuser is a matter of how raw and exposed you want the electronic hardware to be. We think it looks nice exposed but suit yourself.
-
-
-
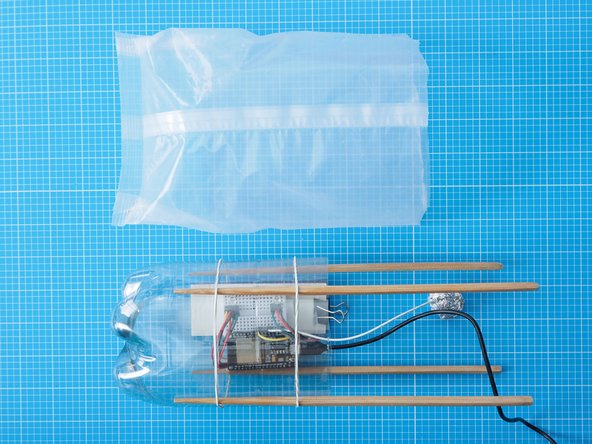
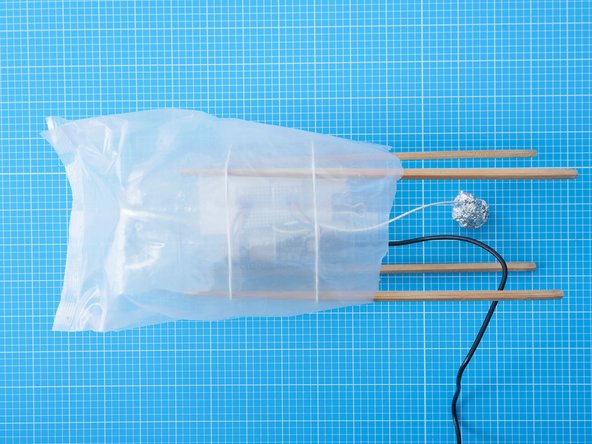
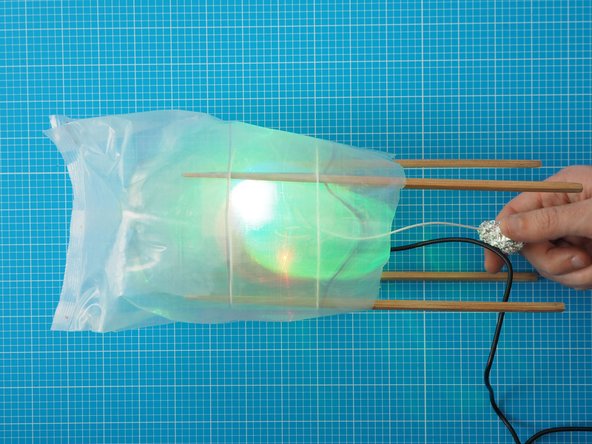
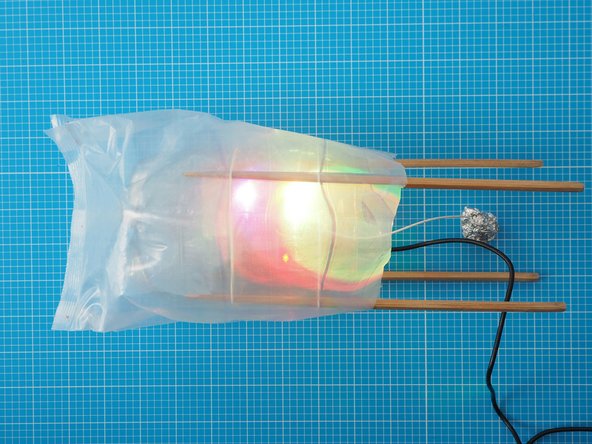
Cut the end off of a cereal liner and drape it over the top of the bottle
-
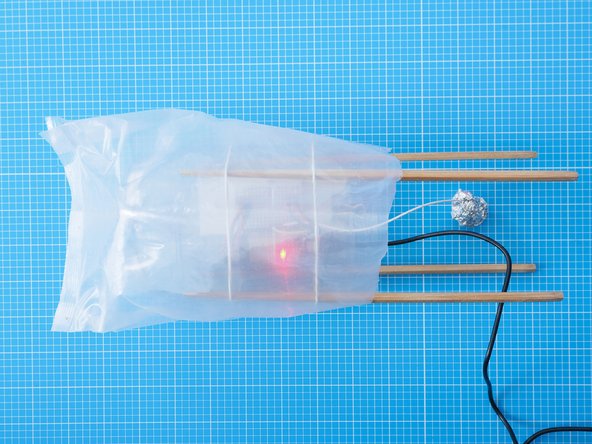
Plug in the USB power lead ready for testing. A small red light should appear when the device is powered up.
-
-
-
You can make and pair both Light Touch devices in the same household and post one to your remote partner. Alternatively, they can be made remotely and paired via the internet.
-
Use the Network Setup guide to pair two Light Touch devices. We assume you'll do before you start assembling the electronics, but you can link or re-link them at any time.
-
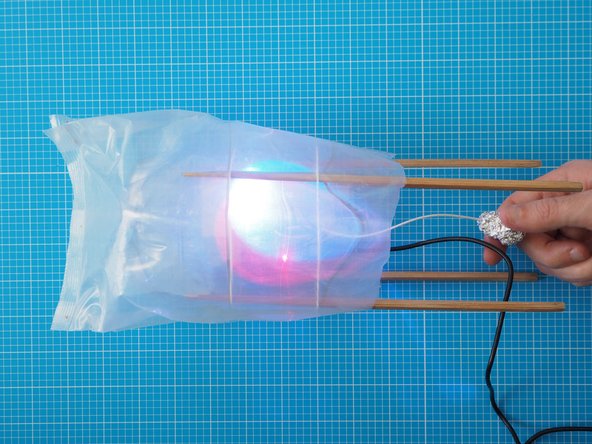
Press and hold the tinfoil ball to scroll through different colours. Let go to select a colour.
-
Tap quickly on the tinfoil ball to send this colour to the your paired Light Touch Device.
-
Receive a second colour back from your paired Light Touch device.
-
-
-
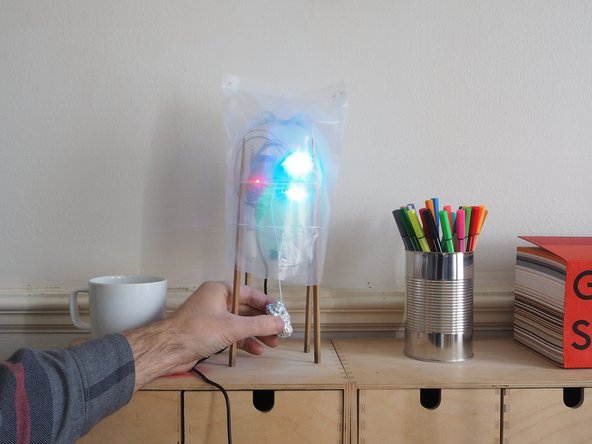
The build is finished and ready to use.
-
Choose locations for your device that are not too brightly lit. The LEDs are bright, but may seem washed out if near a sunny window.
-
Light Touch devices work best when plugged into dedicated adaptors like phone chargers. They do not run run well when plugged into laptops or computers as these will struggle to power the LEDs.
-
Enjoy!
-
-
-
Use the capacitive touch tinfoil ball to operate the device.
-
Press and hold the tinfoil ball to scroll through different colours. Let go to select a colour.
-
Tap quickly on the tinfoil ball to send this colour to the your paired Light Touch device.
-
Receive a second colour back from your paired Light Touch device.
-
You can make and pair both Light Touch devices in the same household and post one to your remote partner. Alternatively, they can be made remotely and paired via the internet.
-
Use the Network Setup guide to pair two Light Touch devices. We assume you'll do before you start assembling the electronics, but you can link or re-link them at any time.
-


Cancel: I did not complete this guide.
One other person completed this guide.