Introduction
Build a Flutter By from bits of foam and clear plastic tubs that will spin around whenever the device is activated. Use one of the templates we provide, or decorate your own.
Please Note: This enclosure design uses the 60cm computer fan rather than the mini computer fan.
To begin this step you’ll need to have your Flutter By breadboard assembly already made (one or two of them depending on whether you are intending to pair them yourself, or pair remotely). You’ll also need to have ready the necessary tools and parts which can be sourced from a range of independent online retailers - click the parts links for more details including tailored options for certain countries.
Tools
-
-
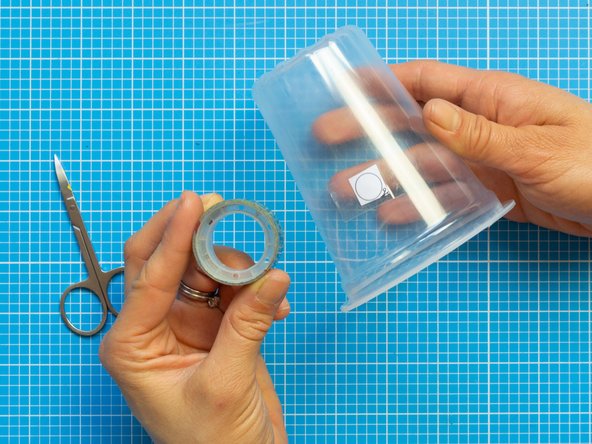
Gather the items from the parts and tools lists
-
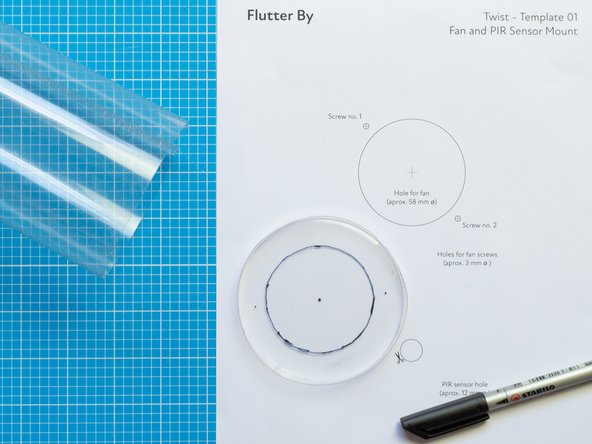
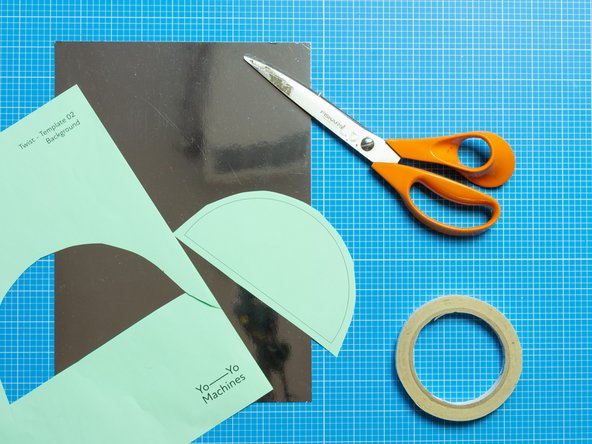
You will need the following templates included in the PDF below:
-
Template 01 - Mount for 60mm Fan and PIR Sensor
-
Template 02 - Decorative background (optional)
-
Make sure to choose 100% scale when printing or alternatively use the measurements indicated on the templates.
-
-
-
First you will make a mount for the fan using the lid of the tub that will contain the electronics. This tub will be the top of your device.
-
For an easier mount, use tubs that have flat lids. You can pick different shapes and sizes to make an interesting mix. Use the bigger tub to contain the sponge bits.
-
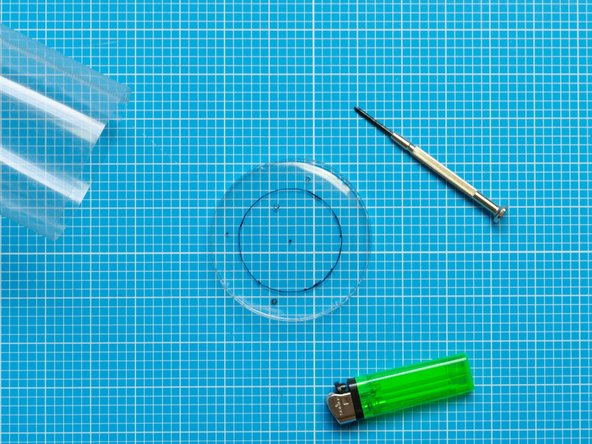
Using the template No. 1, mark with a permanent marker the opening for the fan and the perforations for the screws.
-
Make the two perforations for the screws using a small crosshead screwdriver. Carefully heat the tip of the tool to pierce through the plastic
-
If using heat, do this step in a ventilated room.
-
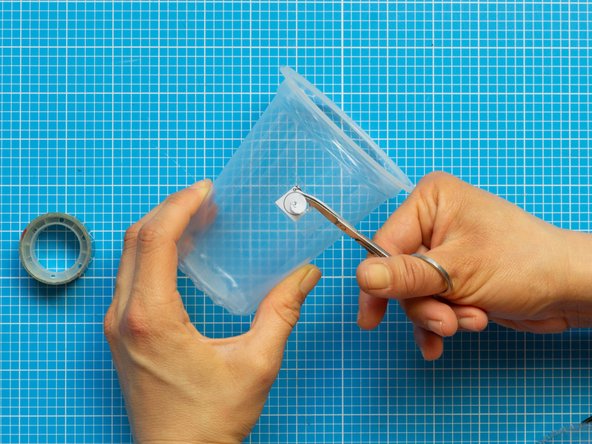
Make another hole in the inside of the bigger circle. Use this hole to cut the circle with small scissors.
-
Pierce the rest of the small perforations with a heated screwdriver as described above.
-
-
-
You will now prepare the lid of the second plastic tub that contain the sponge bits. This tub will be the bottom of the device.
-
Using the same techniques as in the step above, perforate the opening for the fan and screws on this second lid.
-
-
-
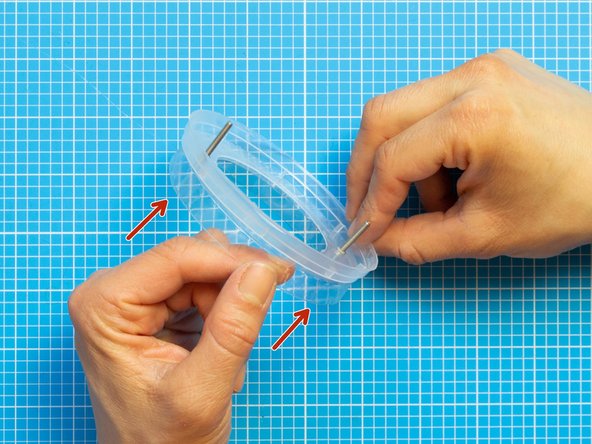
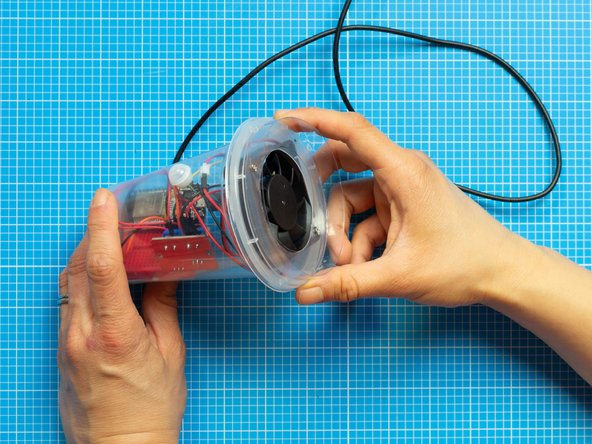
Take the lids from the top and bottom tub. Both should have matching holes.
-
Hold the lids facing each other as shown in the picture. Push the two screws provided in the fan kit starting from the bottom lid.
-
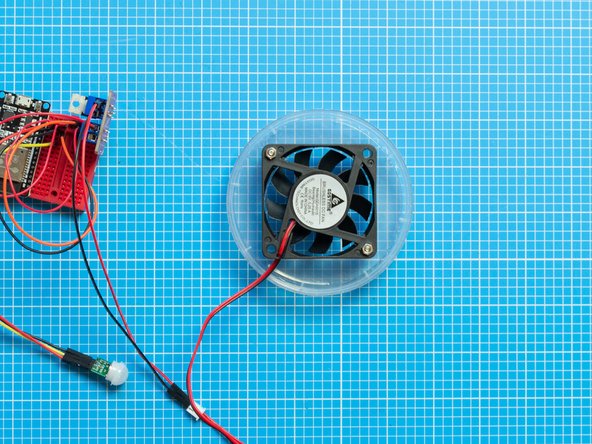
The screws should stick out from the top lid. Place the fan following the position of the screws and fix with the bolts.
-
The fan should be positioned with the side of the exposed blades facing the lids. If placed the other way around the device will not create an air current.
-
-
-
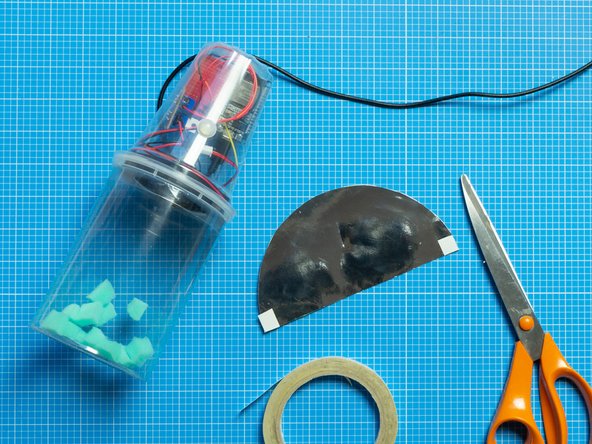
Cut the PIR sensor template from Template No. 1 and attach it to the top cup with sticky tape.
-
In this example, the opening is placed roughly 1 cm above the center line of the tub. If using a different tub make sure that sensor is positioned leaving enough room for the breadboard assembly.
-
Make the circular hole with the help of small scissors.
-
You can make a small perforation (with heated screwdriver) before taping the template so that you have an opening for the scissors.
-
Remove the tape.
-
Be careful not make the hole wider than the PIR sensor itself.
-
-
-
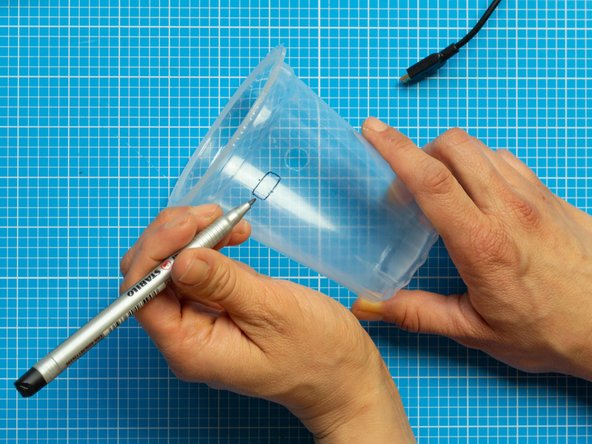
Pierce the tub for the electronics using the small screwdriver. You can heat it as instructed for the first perforations.
-
Mark an opening for the USB lead. This should be placed on the back side of your device, opposite to the PIR sensor which will be on the front.
-
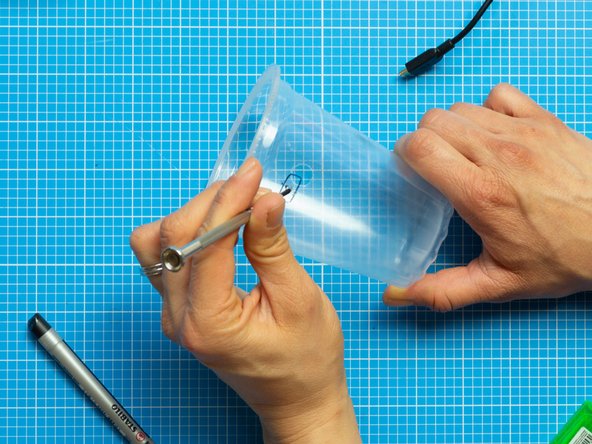
Pierce a small hole in the centre of your mark using a heated screwdriver as described earlier.
-
Cut the hole using the nail scissors making sure that it is large enough to pass the smaller end of the micro USB lead through.
-
-
-
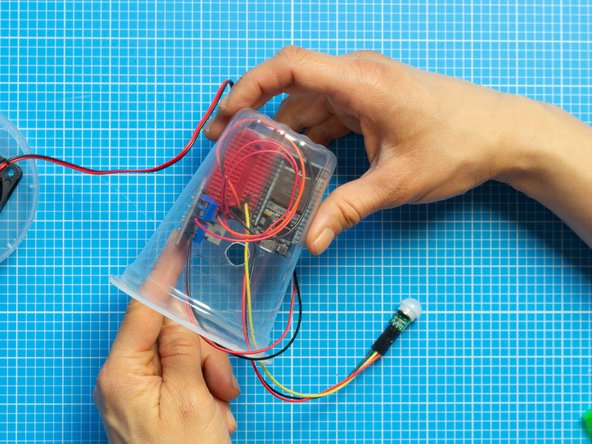
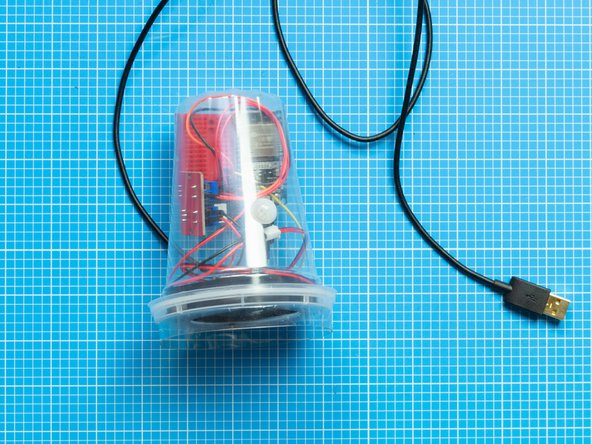
Place the breadboard assembly inside the top plastic tub.
-
Push gently on the components so that they are secured at the bottom of the tub and fold down any jumper cables that may be sticking up.
-
Pass the USB through the opening.
-
-
-
Remove the white plastic cap from the PIR sensor.
-
Fit the cap through the container hole from the front.
-
From inside the container, fit the PIR sensor back into the plastic cap to hold the PIR in place on the tub.
-
-
-
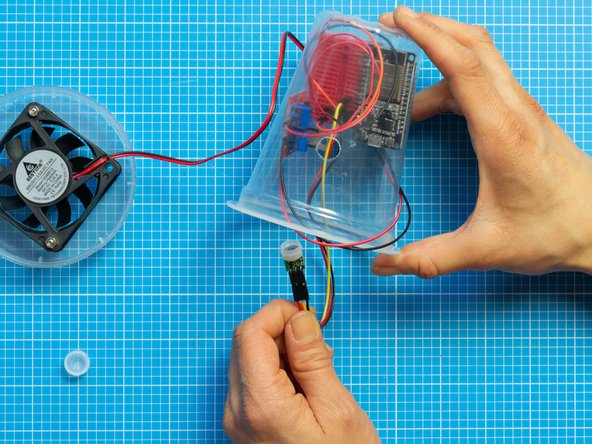
Connect the USB lead to the ESPS32S.
-
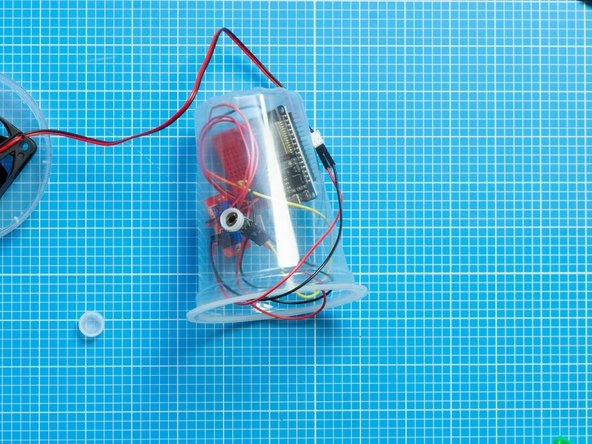
Close the top tub with the lid assembly, carefully folding in any jumper cables that might be in the way.
-
The fan and breadboard assembly should now be fully installed in the inside of the top tub.
-
-
-
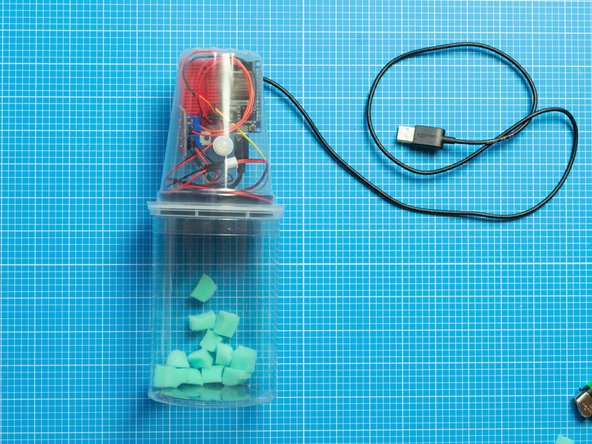
Cut the sponge into little squares of around 1 cm each.
-
You can also use a bath sponge or any light material that will flutter quietly. The movement will change depending on the weight of the material: the lighter it is, the more the bits will jump and twist. Try small bits of paper or even popcorn!
-
-
-
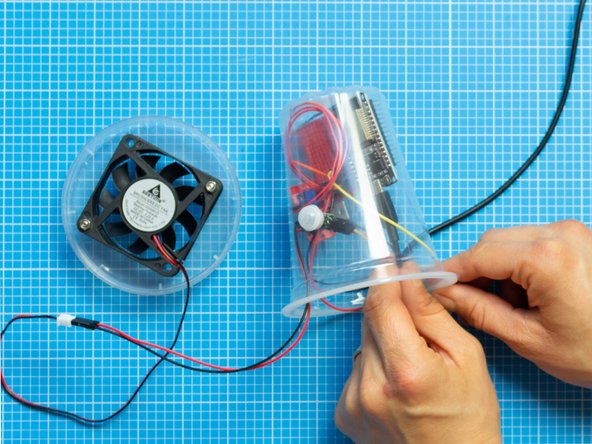
Place the sponge bits (or whatever you decide to use) inside the bottom tub.
-
Close with the top tub assembly.
-
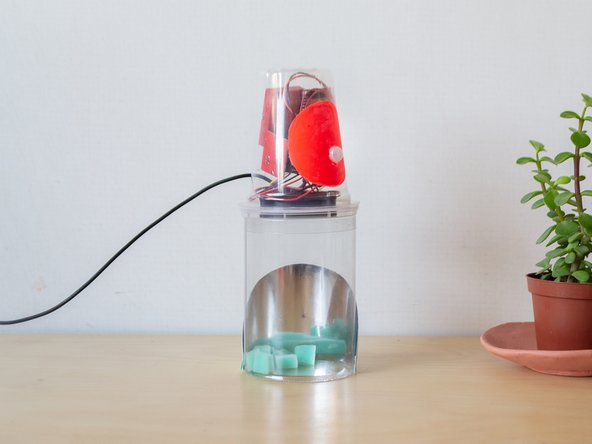
Your device is now ready to decorate!
-
-
-
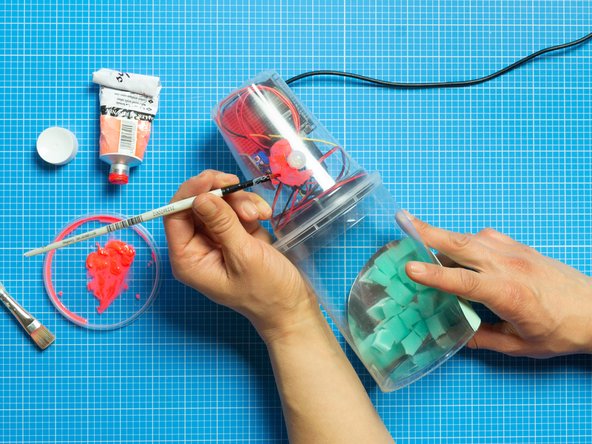
You can now decorate your Flutter By device. In the example shown here, we are highlighting the PIR sensor by applying poster paint to the tub with a brush.
-
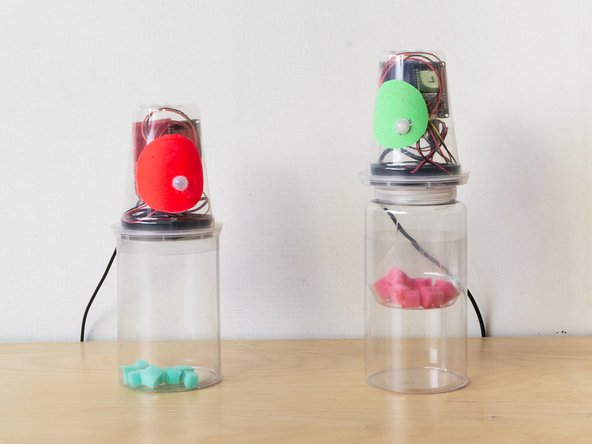
Try different paper backgrounds for the bottom tub. Mirror card can reflect and duplicate the foam bits as they jump.
-
You can use Template No. 2 provided to try the background in the photo. Cut and attach to the bottom tub with a small strips of double-sided tape.
-
Mark the PIR sensor by painting around it with acrylic or poster paint.
-
-
-
Once paired with a second device, any movement detected by the PIR sensor on one device will trigger the fan in its partner to turn.
-
If you want to adjust the timing of the fan motion (by default it will remain on for 10 seconds after the PIR detects motion), please refer to the optional step in stage one of the hardware building guides.
-
-
-
The enclosure is finished and ready to use.
-
Remember you can adapt these instructions to suit your needs.
-
We would love to see your interpretations! Email us at interaction@gold.ac.uk or tag your social posts with #yoyomachines
-
Enjoy!
-