Introduction
Build Knock Knock from an old phone box (though you could use just about any box that is sturdy enough to stand up to repeated knocking). Decorate with your own stickers or print our PDF to use the ones featured in this guide.
To begin this step you’ll need to have your Knock Knock breadboard assembly already made (one or two of them depending on whether you are intending to pair them yourself, or pair remotely). You’ll also need to have ready the necessary tools and parts which can be sourced from a range of independent online retailers - click the parts links for more details including tailored options for certain countries.
-
-
Gather the items from the parts and tools lists
-
-
-
Remove any tray from the inside of the box.
-
-
-
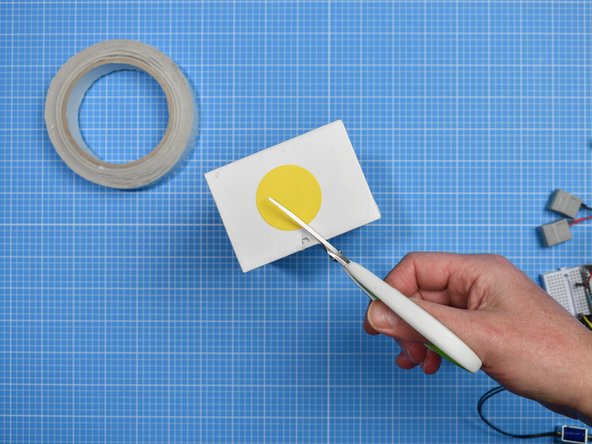
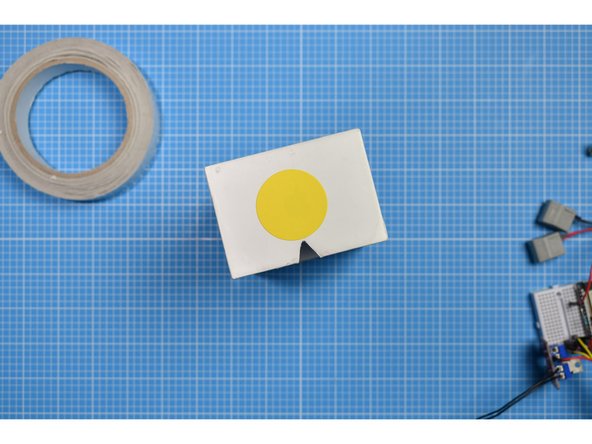
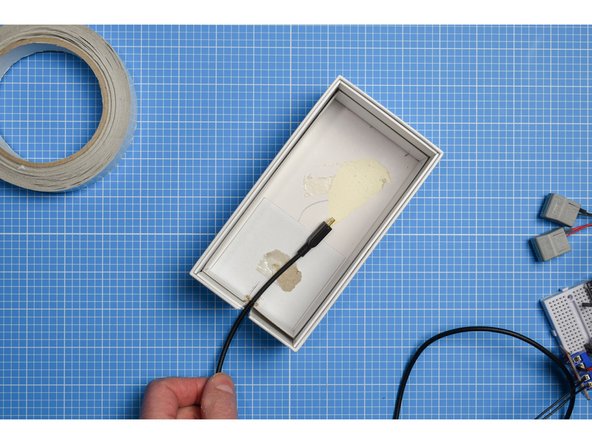
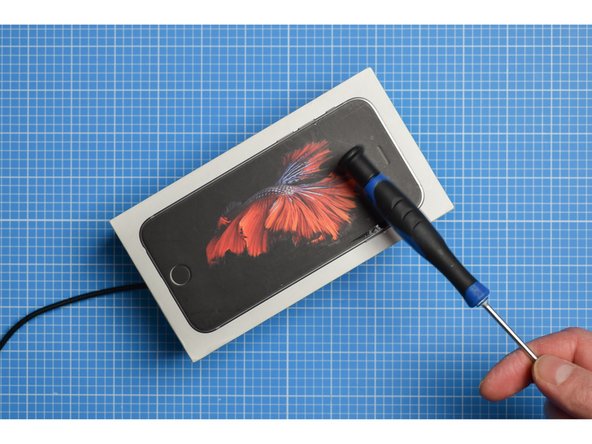
In the outer sleeve or lid of the phone box, cut a small triangle in one end, large enough for a USB lead to pass through.
-
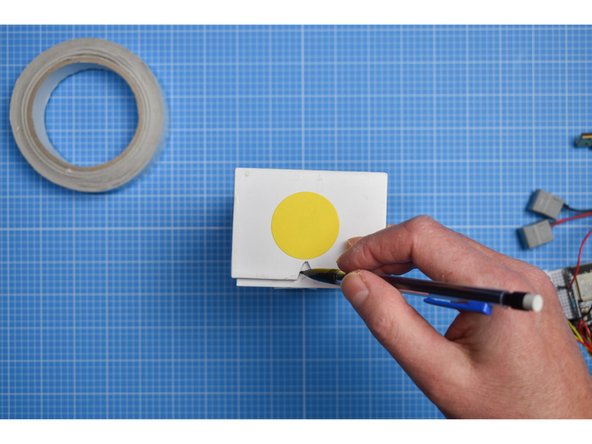
Close the box and make a small mark on the inner sleeve that traces the triangle you have just cut.
-
-
-
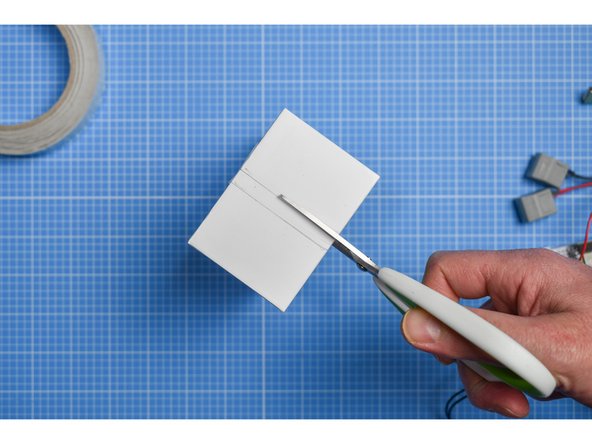
Using the mark you made in the previous step, mark and cut a slot in the inner sleeve large enough for the USB lead to pass through.
-
-
-
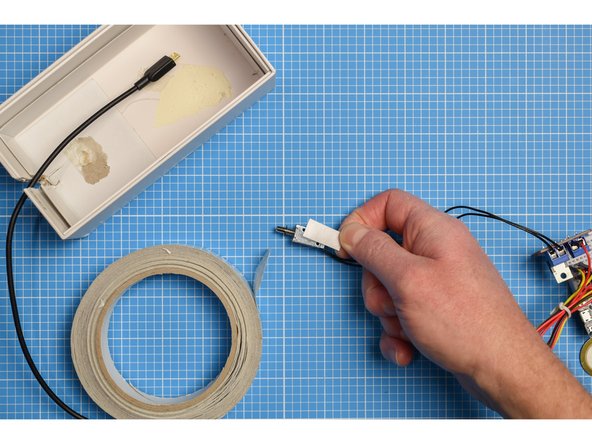
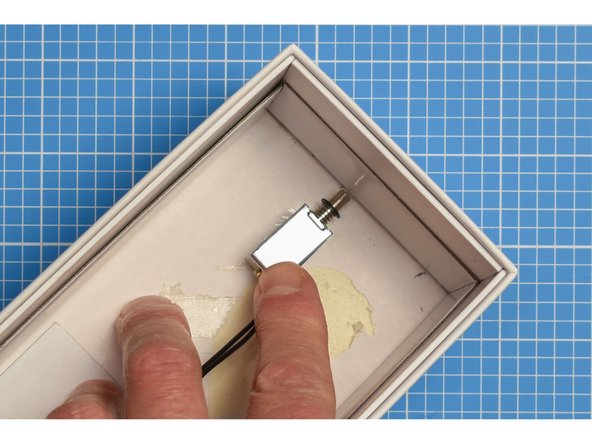
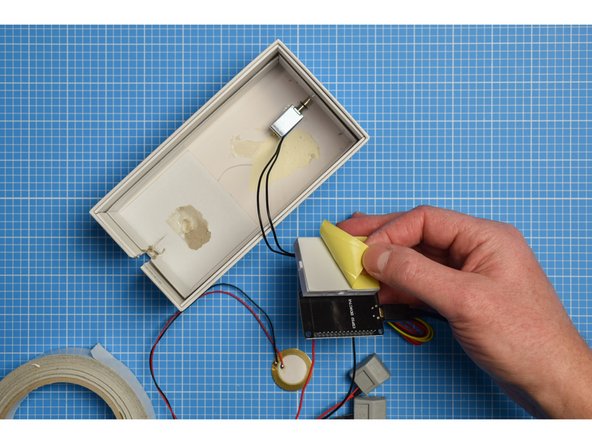
Using a small piece of double-sided tape, carefully position and stick the solenoid inside the box.
-
The solenoid is best placed at the opposite end to the USB entry.
-
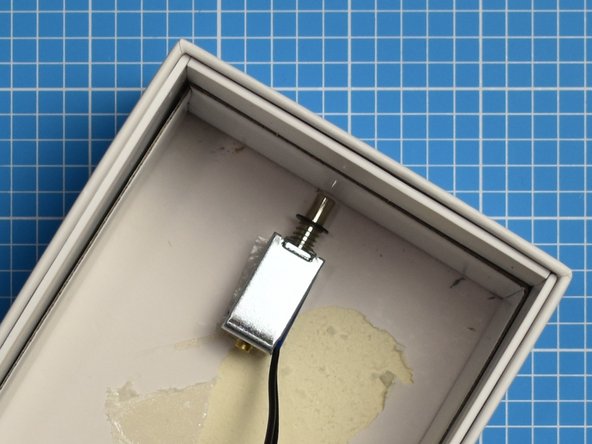
The striker end of the solenoid should be mounted a few millimeters from the side of the box.
-
-
-
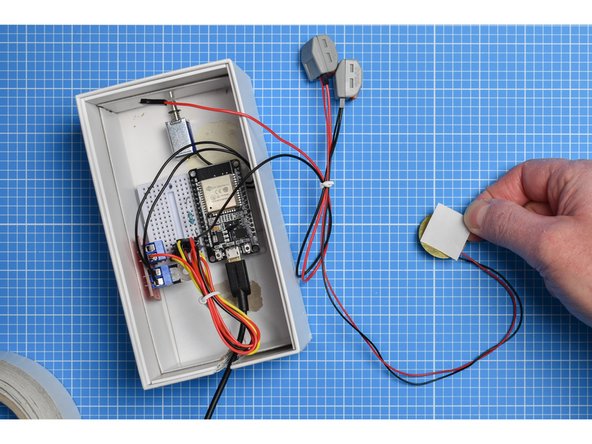
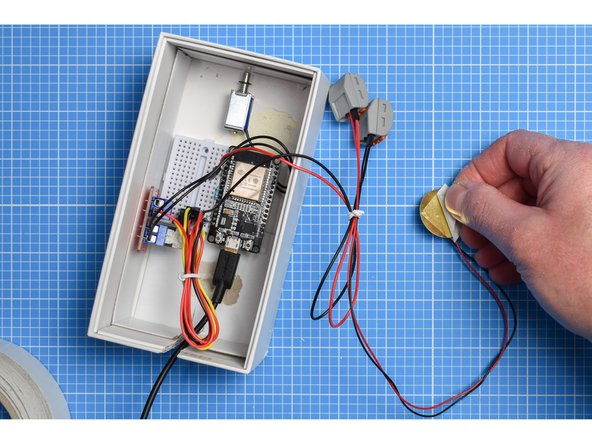
In most cases, the breadboard will already have a self-adhesive pad on the rear (use double-sided tape if not). Peel away the protective layer and stick the breadboard inside the box.
-
-
-
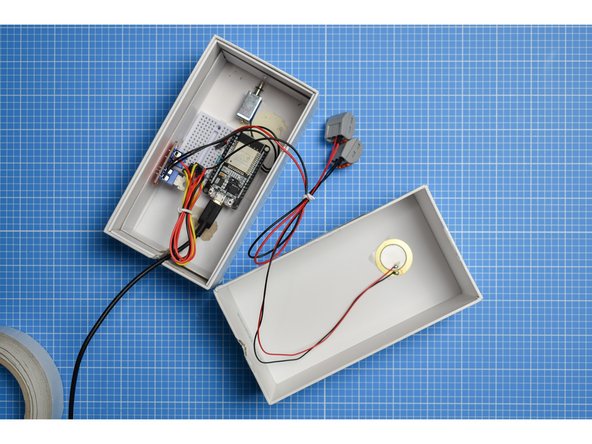
Attach a small piece of double-sided tape to the rear (the brass disc) of the piezo sensor and mount on the inside of the outer sleeve or lid of the box.
-
-
-
Close the box, power up and test that Knock Knock is working before moving on to decoration.
-
Tapping the box where the piezo is mounted works best -- the piezo microphone picks up the sound and triggers your partner's solenoid.
-
You don't necessarily have to tap over the piezo, however – the box will carry the noise of your tapping to the microphone.
-
-
-
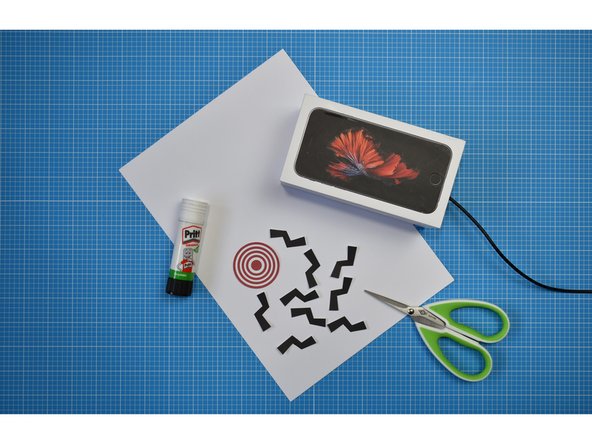
Knock Knock can be decorated however you wish. The following steps demonstrate how to cover the box with white card and apply graphics from the our printable PDF
-
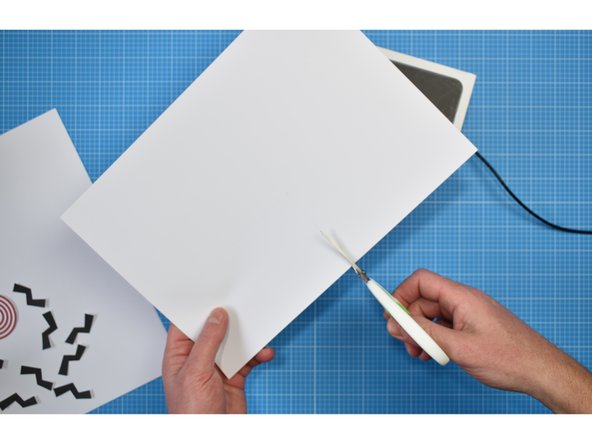
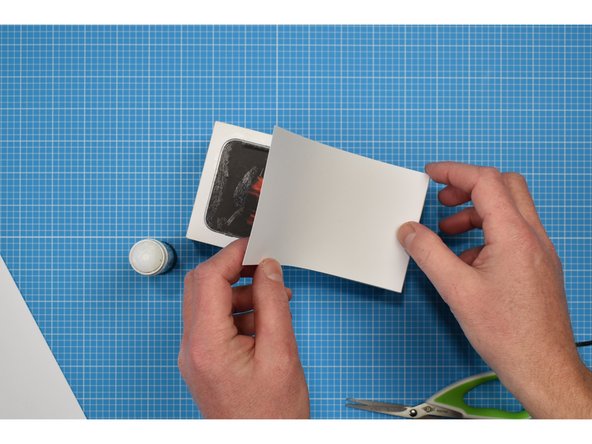
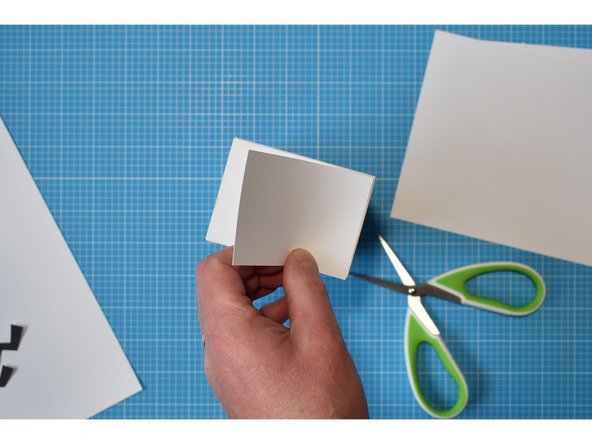
Lightly trace around the lid of the box onto the white card. Cut out and stick to the box using a glue stick.
-
-
-
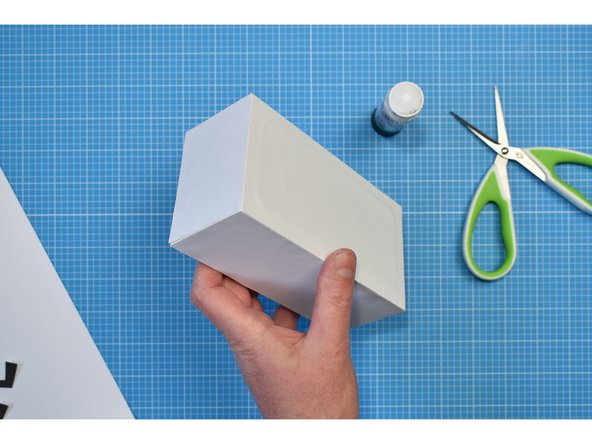
Repeat the previous step to cover each side of the box.
-
Cut out and stick the target graphic to the lid of the box using a glue stick.
-
The piezo doesn't necessarily have to be mounted under the target as the box will carry the noise of your tapping to the microphone.
-
-
-
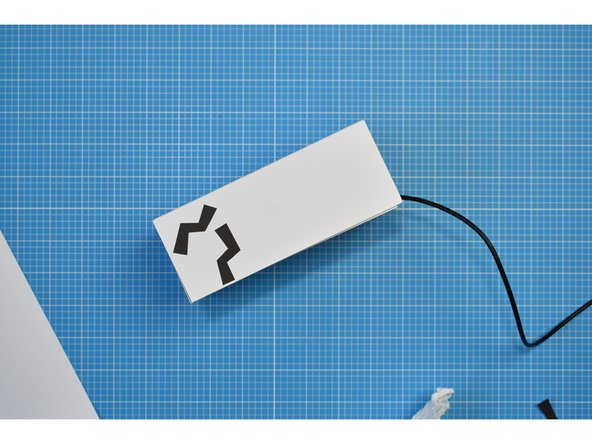
Cut out the 'noise' graphics and stick to the box in any arrangement you wish.
-
-
-
The enclosure is ready to use.
-
Remember you can use virtually any sturdy box for Knock Knock and adapt these instructions to suit your needs.
-
You can also adapt the decoration however you wish.
-
We would love to see your interpretations by emailing us at interaction@gold.ac.uk or by tagging your social posts with #yoyomachines
-
Enjoy!
-